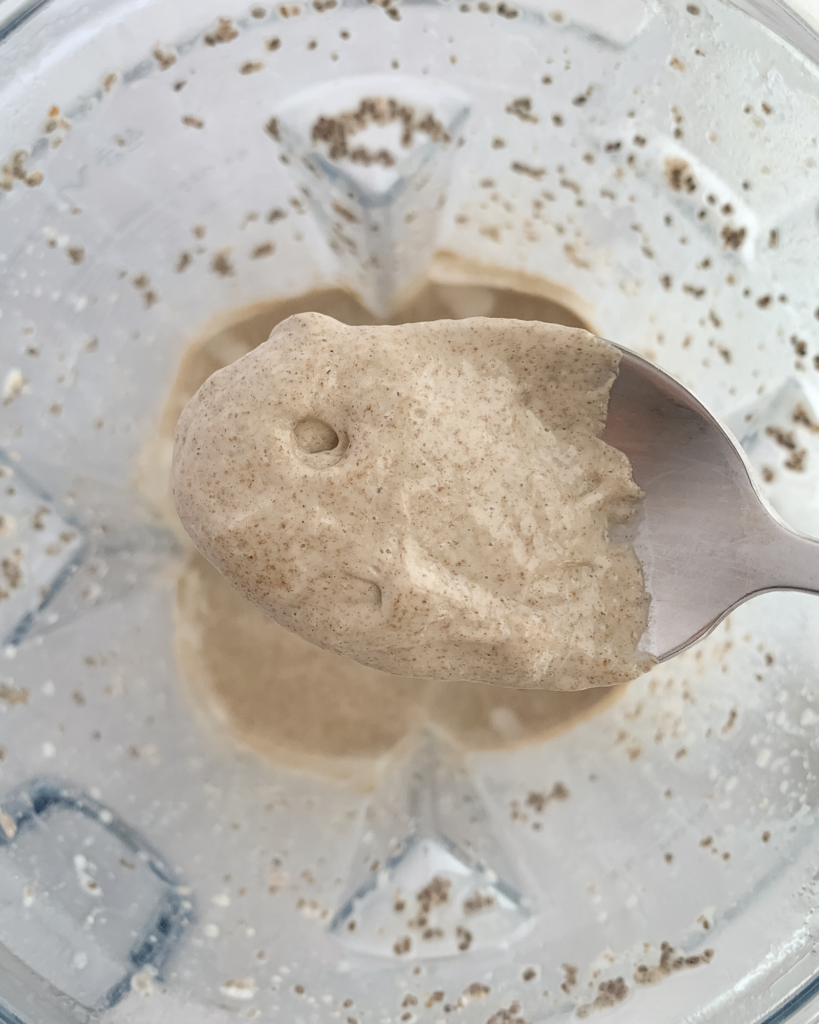
Chia pudding is hands down the tastiest way to eat your chia seeds! And this blended chia pudding recipe is the best in more ways than one. It has a smooth, mousse-like consistency, tastes like dessert and takes only 5 minutes to make.
Dessert for breakfast? Yes, please! Keep reading to discover what makes this delicious recipe so amazing!

Jump ahead
Chia pudding benefits
- It has a silky-smooth, mousse-like consistency that mimics real pudding.
- It’s diabetic-friendly with only 4 grams of sugar per serving and 8 net grams of carbs.
- It’s loaded with fibre and brain-boosting fats.
- It promotes a healthy gut microbiome.
- It’s a dairy-free, probiotic-rich alternative to yogurt if you add this special ingredient.
- Unlike traditional chia seed pudding recipes, this blended chia pudding ‘gels’ instantly!
- It’s a budget-friendly superfood recipe that can be enjoyed for breakfast, as a snack or healthy dessert.
- And many, many more! For the complete list of chia pudding health benefits, click the button below!
Nutrition Facts
Not all chia pudding recipes are made equal. Like any recipe, it always comes down to the ingredients you choose. Chia pudding benefits and nutrition will vary depending on the milk, sweetener and type of chia seeds you use. For a complete breakdown of this chia pudding’s ingredients benefits, click here.
Each 1/2 cup serving of this chia pudding recipe clocks in:
- 7g of fibre
- 20g of healthy fats
- 4g of protein
- 5g of sugar
- 243 calories
Speaking of healthy ingredients, if you are looking for the easiest way to upgrade your nutrition, try swapping some nutrient-packed ingredients into your current meal-time routine! Don’t know where to start? Not to worry. I’ve got you! Just download my FREE Healthy Ingredient Substitutions Guide here for loads of tips, tricks and nutrition facts. It also includes a handy master list to make shopping and meal prep easier!
Meal prep & Storage
Doubling and tripling recipes is a huge time saver, especially when you can freeze them for your future self! This chia pudding recipe is no exception. It can be meal prepped in advance, and stored in the fridge for up to 6 days or in the freezer for 3 months.
Store in an airtight food storage container or glass jar or portion out into individual serving containers.
Doubling (or tripling) this recipe all at once in the blender isn’t recommended. However, you can make one batch after the other without rinsing your blender’s container. n your blender more than once. Not to mention getting out and putting away the ingredients.
Serving Ideas
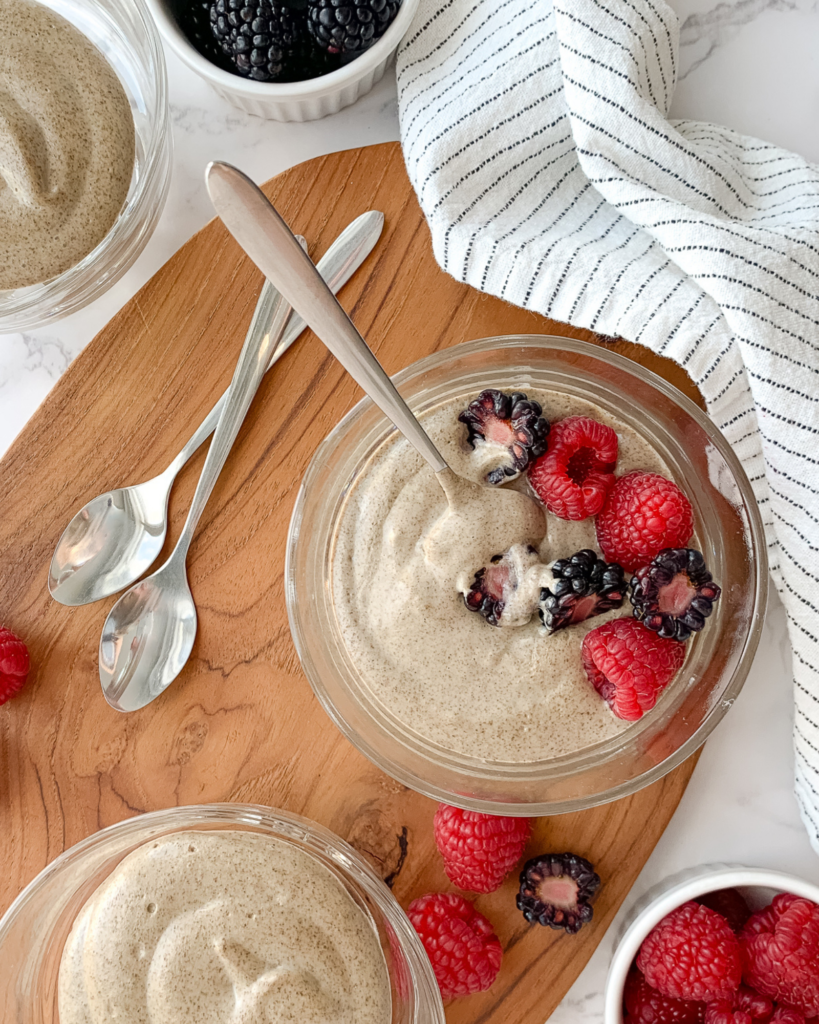
Once you’ve made this delicious chia pudding recipe, it’s time to make it into a balanced meal. Adding some fruit and protein-rich toppings will turn this healthy meal starter into a well-balanced breakfast (or lunch, or snack) of champions!
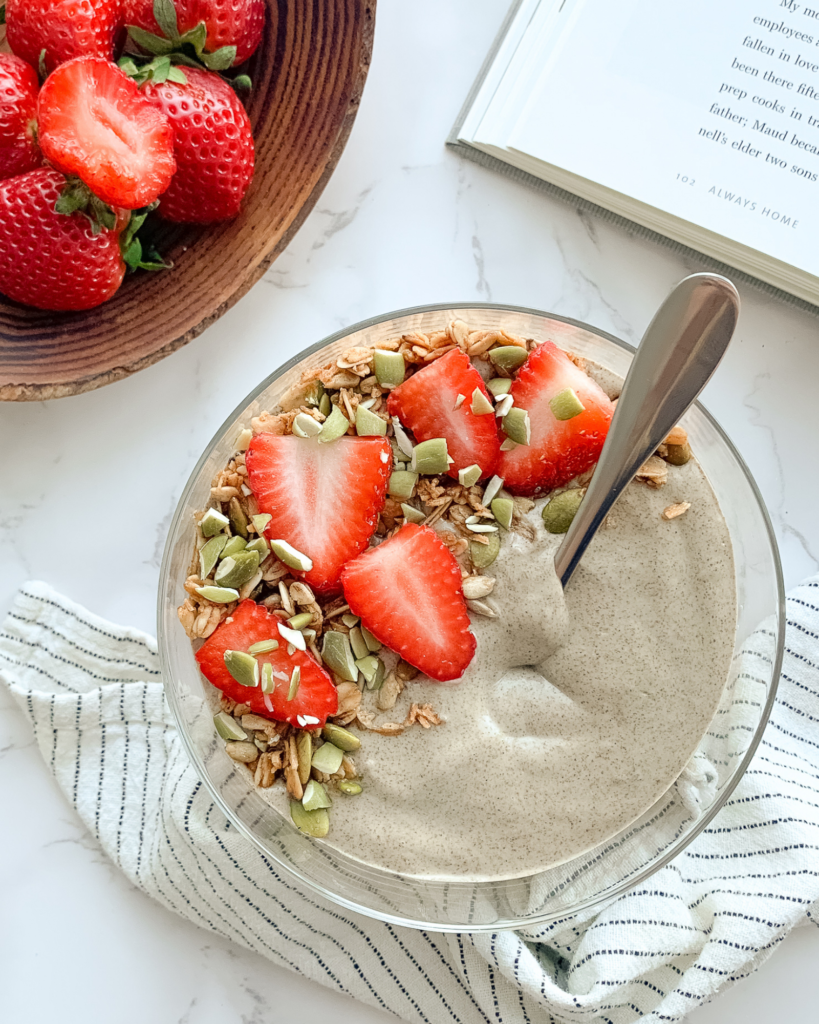
While any delicious topping will do, here are some protein-packed options to consider:
- Peanut or almond butter
- Roughly chopped pumpkin seeds
- Hemp hearts
- Nutty and/or seedy granola
- Chopped pistachios, peanuts or almonds
Flavourful fruit helps to balance out the richness, all while giving your meal an extra boost of vitamins and antioxidants. Fresh and frozen fruit taste amazing in the summer, while warm, stewed berries are exceptionally comforting in the fall and winter.
Tips For Optimal Results
HELPFUL TOOLS
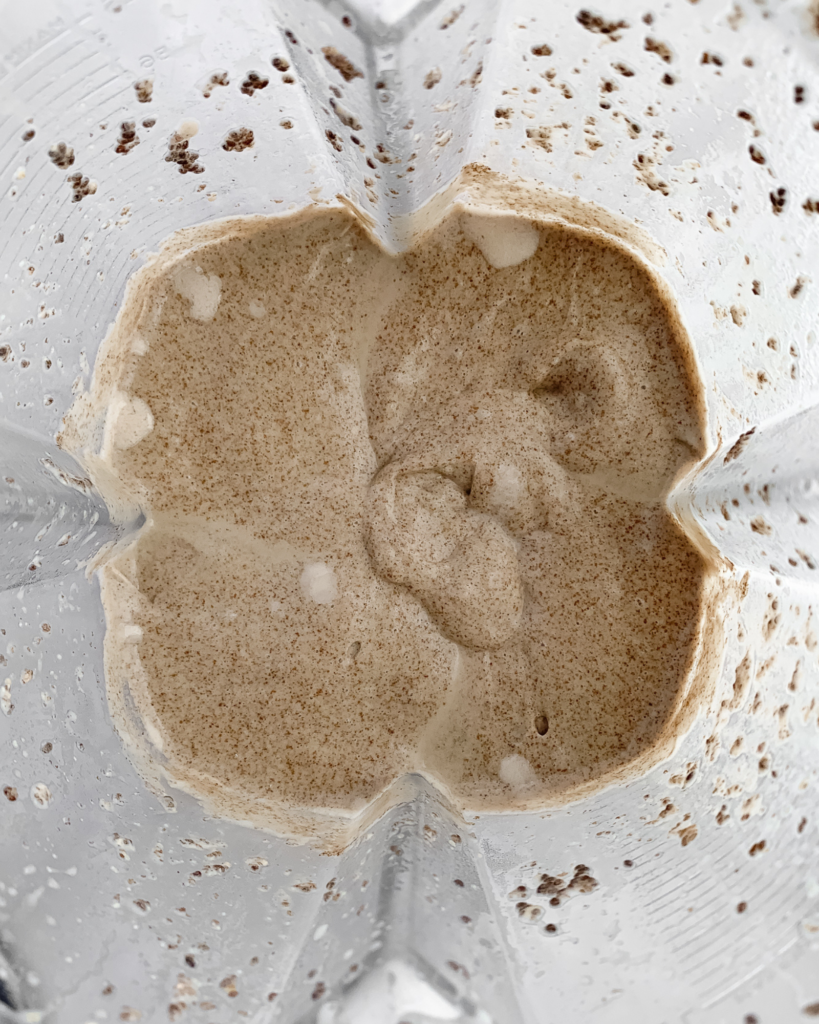
The trick to making this chia pudding recipe oh-so silky smooth is blending it in a high-speed blender.
If you’re looking for a new blender and want to make sauces, dips, soups, smoothies and blended pantry staples from scratch, I highly recommend investing in a Vitamix blender. You can buy it new or certified reconditioned at a lower price. Also, know that this is not a sponsored or affiliate post. I just really love my Vitamix over the other blenders I’ve owned in the past!
A good quality high-speed blender can make a world of difference in the kitchen and make healthy eating much easier. It’s an investment; there’s no denying it, but it’s worth every penny.
Sweetener SUBSTITUTIONS & TIPS
If you don’t keep dates on hand or are concerned your blender won’t break them down completely, try using maple syrup! It imparts the same caramel-like flavour that makes this chia pudding recipe so good. While maple syrup doesn’t have as low of a glycemic index as dates, it’s still a more nutritious option than traditional sugar, agave or rice syrup.
Start with two tablespoons and add more if needed!
If you’re following a sugar-free protocol, I would recommend using a natural sugar-free sweetener, like liquid monk fruit or stevia.
MILK SUBSTITUTIONS
While coconut milk is not a common allergen, it might not agree with some. Thankfully, this chia seed recipe can be made with any milk of your choice. While the full-fat coconut milk gives it an exceptional richness, your favourite milk will still produce a smooth and silky pudding.
The magical chia pudding ratio is 2 cups of milk to 1/2 cup of chia seeds, plus any sweeteners or flavours.
ADDING FERMENTED COCONUT MILK
If you are looking to add more probiotic foods to your current diet, fermented coconut milk is an excellent option!
Wait until your chia pudding has cooled before adding your fermented coconut milk (temperatures over 40C/104F) can affect the quality and benefits of probiotics. Start small with only 1 tablespoon and work your way up.
Taste after mixing it into your chia pudding, and add 1 to 2 teaspoons of maple syrup if needed to balance out the flavour.
Love Chia Pudding?
You need to check out this decadent hormone-balancing chocolate chia mousse! You’ll love the creamy smooth texture, rich chocolatey flavour, and it’s hormone-balancing power!
SILKY SMOOTH BLENDED CHIA PUDDING
Equipment
- 1 High Speed Blender
Ingredients
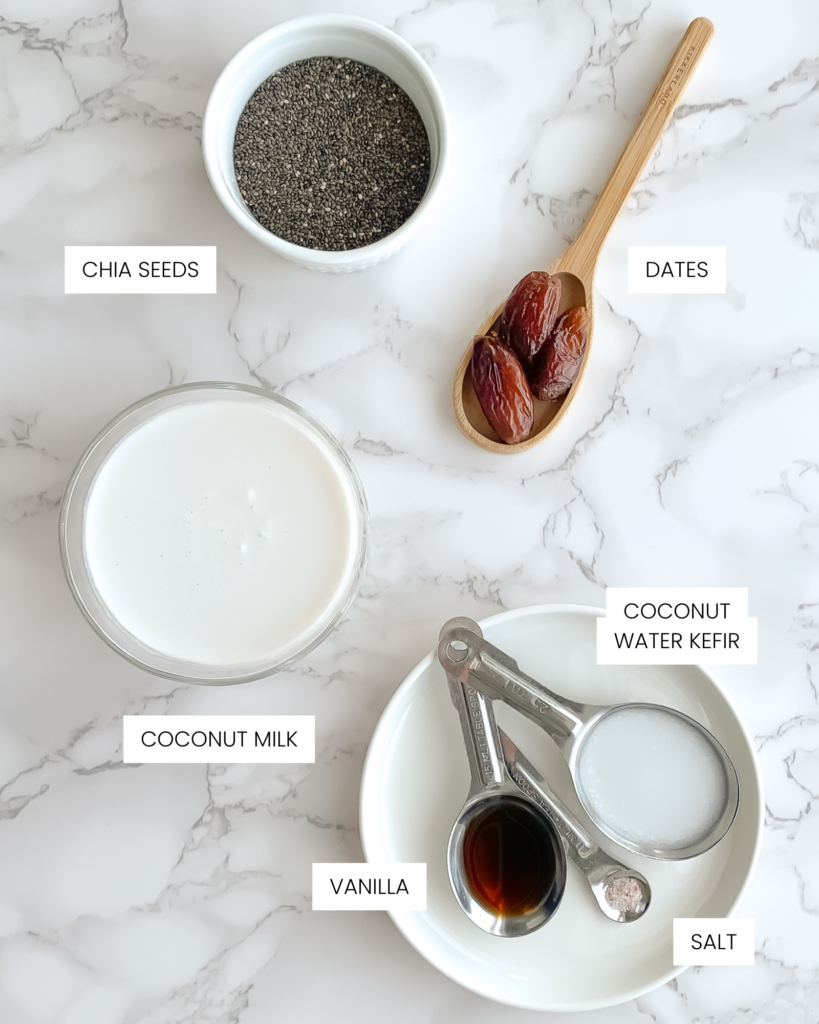
- 1 13.5 floz can of unsweetened coconut milk (full fat)
- 1/2 cup chia seeds
- 4 to 6 regular dates (or 1 to 2 large medjool dates) or 2 to 3 tbsp maple syrup
- 2 tsp vanilla extract
- 1/3 cup water
- 1 to 2 tbsp fermented coconut milk (optional for added probiotics)
- a tiny pinch Himalayan pink salt or sea salt (optional)
Instructions
- Into a high-speed blender, add your coconut milk, water, dates and vanilla and blend on high speed for 1 minute, or until the dates have broken down and combined completely with the milk and water. If opting to use maple syrup, omit blending and move to the next step.
- Add in your chia seeds, and blend on low for 30 seconds and then on high for 2 minutes. There's no need to scrape the sides between speeds.
- After it's blended into a smooth and silky pudding texture, taste it for sweetness. If wanting it a bit sweeter, stir in a small amount of maple syrup, 1 tsp at a time.
- After blending, the pudding will be a bit warm. If wanting to add in coconut water kefir for a probiotic boost, wait until it has cooled before stirring it in.
- Transfer to a glass storage container or portion out into separate smaller containers or jars. Cover and store for up to 6 days in the fridge.Enjoy slightly warm, or allow to cool and firm up slightly in the fridge for an hour before digging in. Enjoy it on its own, or add your favourite toppings like fruit, berries, granola, nuts, seeds or cacao nibs! Enjoy!
Notes
Nutrition
I can’t wait to hear all about your healthy eating journey and what you’ve been cooking! Please comment below or share your successes with me on Instagram @nourashnutrition so that I can celebrate you and your healthy eating milestones!
Also, if you have any questions about the topic and information you’ve learned today, please don’t hesitate to leave a comment or send me an Instagram direct message! ✨
Sending you strength and confidence today to fuel your healthiest tomorrow!

Holy smokes! This recipe is DA BOMB! it has replaced the regular yogurt/kefir that i used to use as part of my breakfast and I’m already seeing improved health benefits from using this as a dairy substitute! this is now a foundational part of my daily breakfast routine — and makes for a great sweet snack at night as well!
That’s such great news Justin! Finding dairy substitutes that are both healthy AND tasty can be tough. I’m so happy you’re enjoying this recipe and all the health benefits that come with it!
hi, i’m about to try this recipe out. i’m super excited to try it and had a quick question. i have to bulk food prep (busy mom) and wanted to see if you had frozen this recipe and how it held up / if there was any rec’s you had on thawing? thanks in advance! 🙂
Hi Heidi! Yes! This recipe freezes very well. Just let it cool down to room temperature before freezing it. To serve, allow it to thaw at room temperature (a few hours or overnight) and then give it a good stir with a whisk or spoon. I like to batch prep this recipe too. Definitely makes mom-life easier!😊