This healthy chicken strips recipe will remind you of your childhood! They taste like the comfort food classic you grew up on but made over to be gluten-free, low carb, Paleo and Whole30 compliant.
It’s an easy chicken recipe to meal prep for the freezer and can be cooked from frozen in the oven or air fryer. These healthy homemade chicken strips will quickly become your favourite busy night meal.
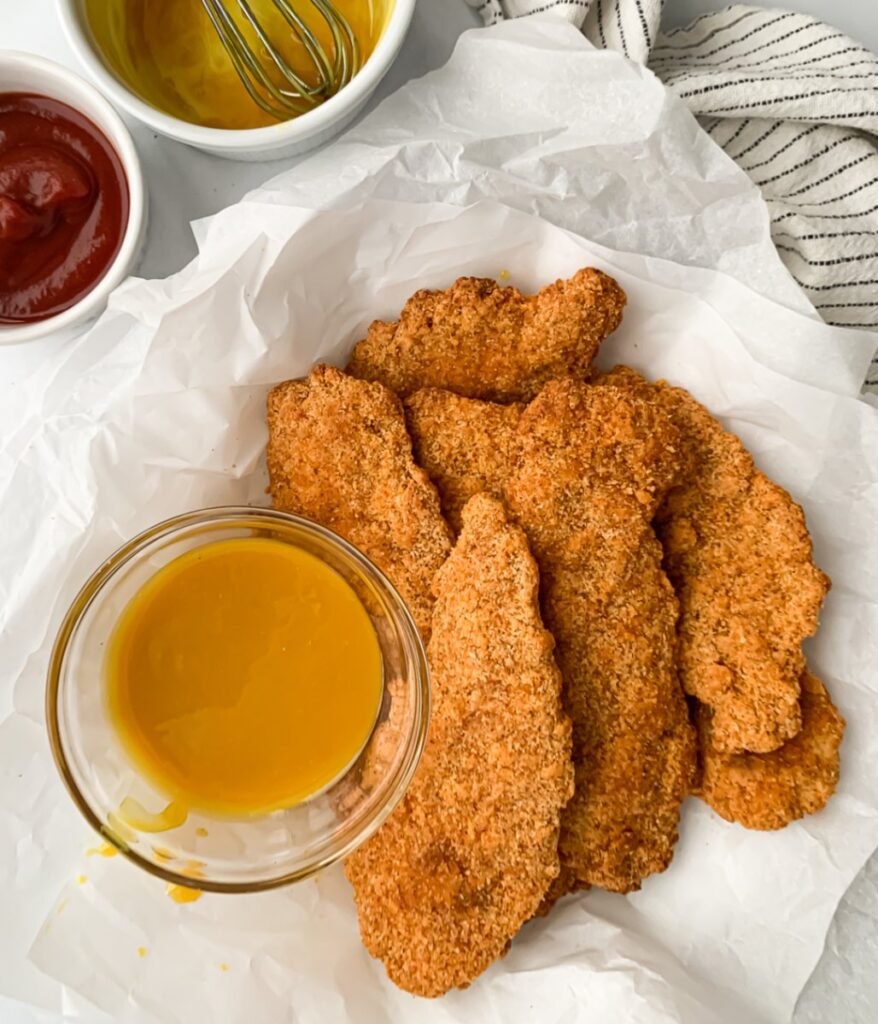
NOTE: To help you more easily find the information you need, the terms chicken tenders and chicken strips are interchangeably used throughout this recipe post.
Skip Ahead | Table Of Contents
- Are Chicken Tenders, Fingers and Strips The Same?
- Nutrition Facts
- Healthy Ingredients
- Step-By-Step Instructions
- Serving Ideas
- Meal Prep & Storage Tips
- Expert Tips
- FAQs
- Recipe Card
Are Chicken Tenders, Fingers & Strips The Same Thing?
For the most part, yes! Some would argue that chicken fingers and tenders are different because chicken fingers are traditionally made using the inner fillet of the breast, while chicken tenders are made from the tenderloin, a muscle between the breast and the chest bone.
But when it comes down to it, all three terms are used to describe long, thin pieces of chicken coated in seasoned breading and cooked in the air fryer, deep fryer, or oven.
This is why the terms chicken tenders and chicken strips are used interchangeably online and throughout this recipe post.
As a Canadian, I grew up calling them chicken strips and chicken fingers. However, in the U.S., they’re mostly referred to as chicken tenders. Whatever you prefer to call them, I’m sure we can all agree that they’re delicious!
However, this begs the question: Are chicken tenders (or strips or fingers) the same as chicken nuggets? The answer is no.
Traditional chicken nuggets are ground-up, processed chicken breasts and thighs that have been formed into the classic nugget shape and coated with a breadcrumb mixture. The same goes for the (not so) healthy chicken nuggets in the freezer section of your local grocery store.
Nutrition Facts
One serving size is four chicken strips, which has:
- 26g of protein
- 19g of healthy fats
- 4g of fibre
- 10g of net carbs
- 323 calories
What makes these gluten-free chicken strips Paleo and Whole30 compliant, is the lack of grains.
Whole30 eliminates grains because they can negatively affect digestion, metabolism, and blood sugar regulation for some people.
The Paleo diet excludes grains because they can contain compounds that block the absorption of different nutrients and trigger inflammation.
Now, that’s not to say grains are bad or there isn’t a time or place to enjoy them! Whole, unrefined grains are satisfying and nutritious in moderation, just like everything. Unfortunately, grains don’t agree with everybody’s bodies or comply with some special diets, making this healthy gluten-free chicken strips recipe a win-win for so many!
Healthy Chicken Strips Gluten Free Ingredients
It’s never been easier to make crispy chicken strips gluten free! All you need are a few simple ingredients and tasty spices.
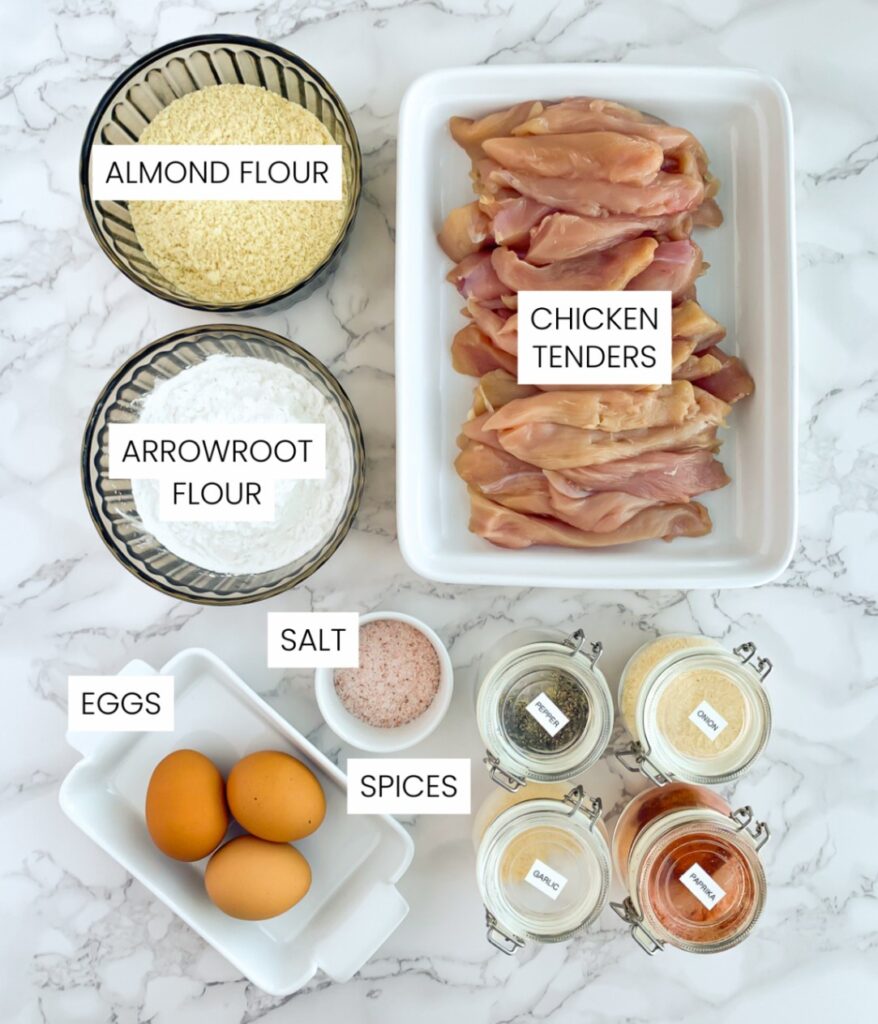
- Almond Flour: Almond flour does double duty in this recipe. Its texture creates a crunchy coating similar to panko breadcrumbs. It also eliminates the need for extra oil because almond flour is naturally oily.
- Eggs: Eggs act as glue that holds the outer coating in place while it cooks.
- Arrowroot Flour: This is the secret to well-coated, crispy chicken tenders! The arrowroot flour coats the slippery surface of the raw chicken, giving the egg something to stick to. While it bakes, it mixes with the natural oils of the almond flour and crisps up! It’s what gives this gluten-free coating the texture of regular breadcrumbs.
- Spices: The tasty combination of paprika, garlic, salt, black pepper, and granulated onion gives you the pub-style flavour you love and crave!
- Chicken Breasts and Tenders: Chicken is a low-fat protein powerhouse! You can use chicken tenderloins (aka tenders) or cut-up chicken breasts in this recipe. To learn more about the difference between chicken tenders and chicken breasts, go here.
Check out the printable recipe card for exact measurements.
How To Make Healthy Chicken Strips Gluten Free
STEP-BY-STEP INSTRUCTIONS
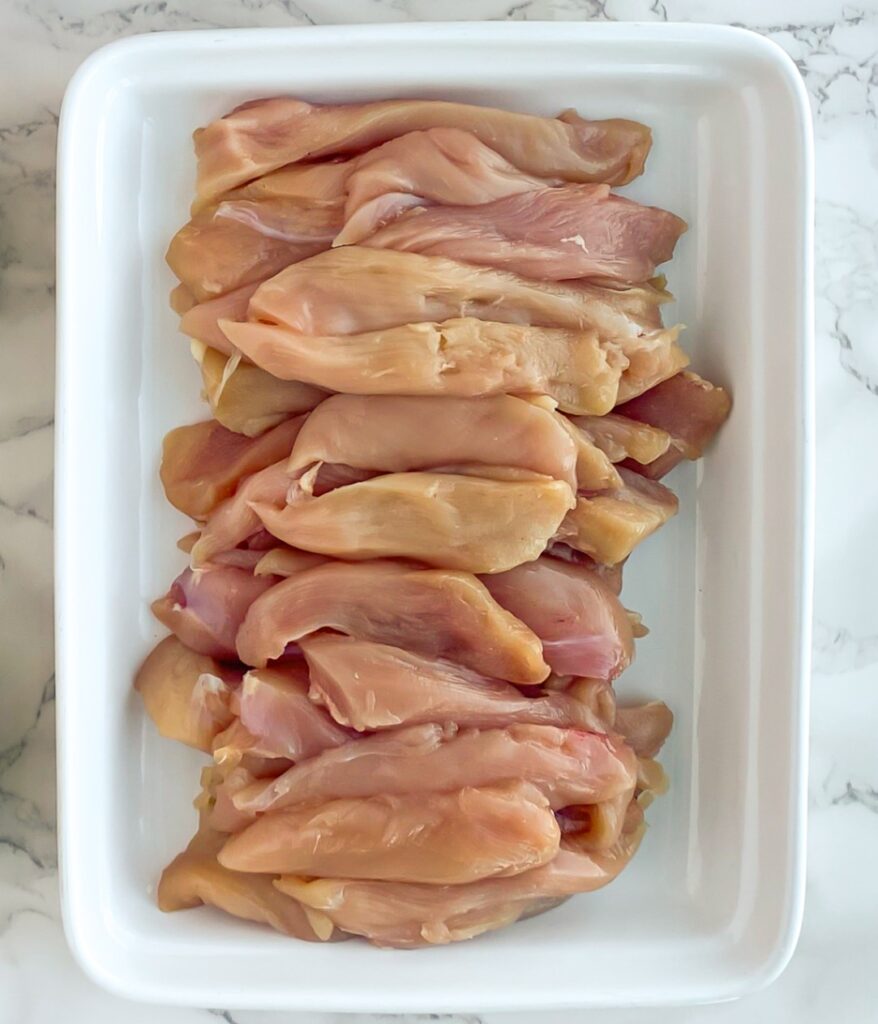
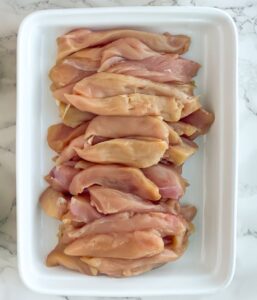
STEP 1: Cut your raw chicken breasts and/or tenders into 1/2-inch thick strips and set aside.
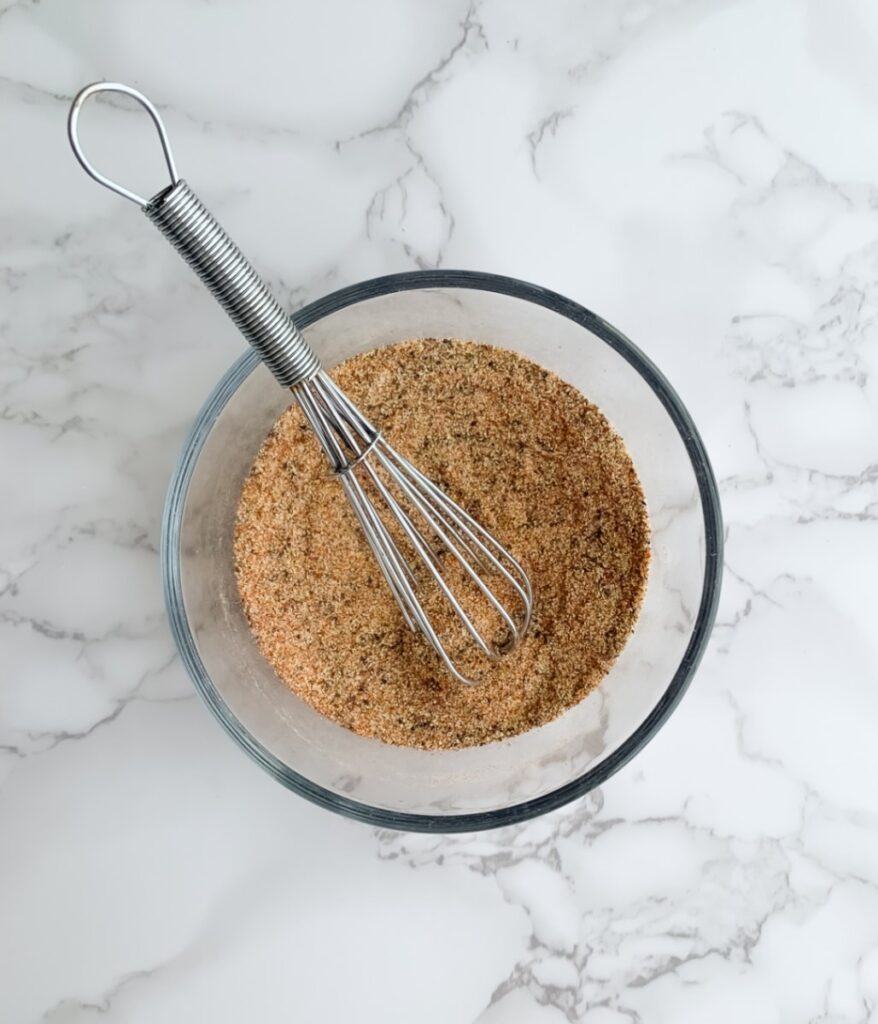
STEP 2: Make your seasoning mix by mixing the salt and spices in a small bowl. Set aside.
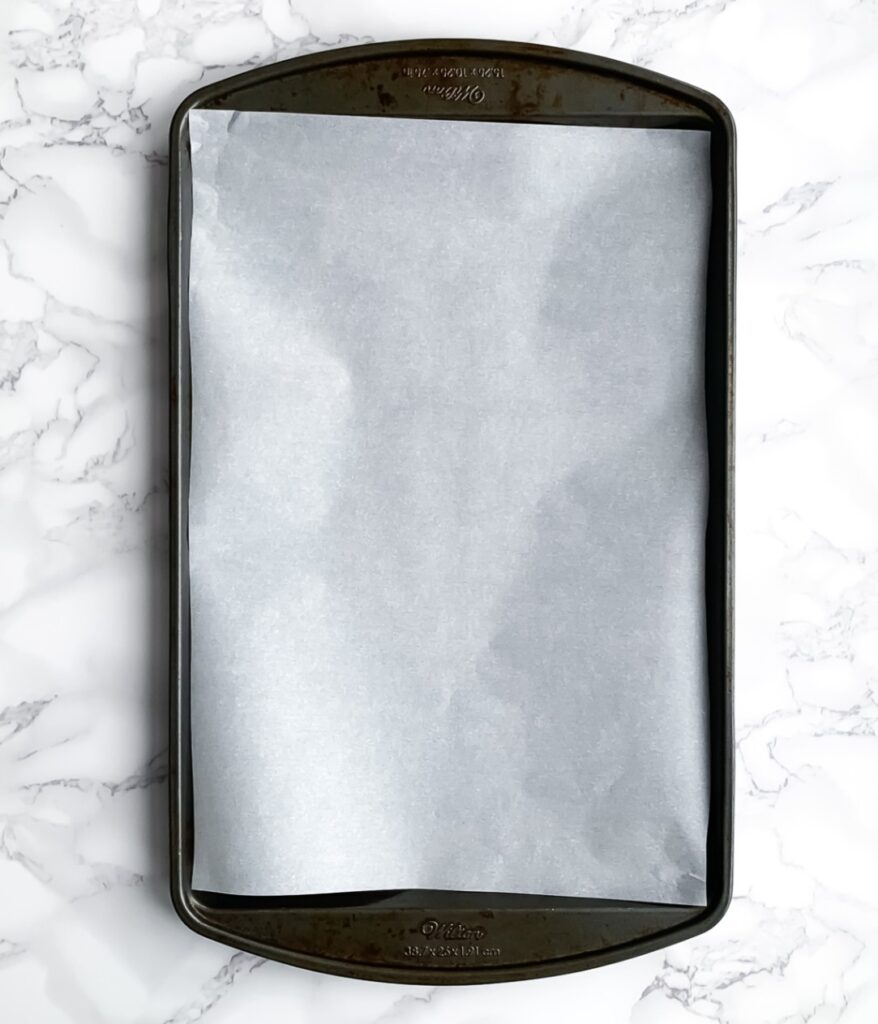
STEP 3: Line one or two metal baking sheets with parchment paper. Cut a few extra pieces of parchment paper, the same size as the baking sheet and set aside.
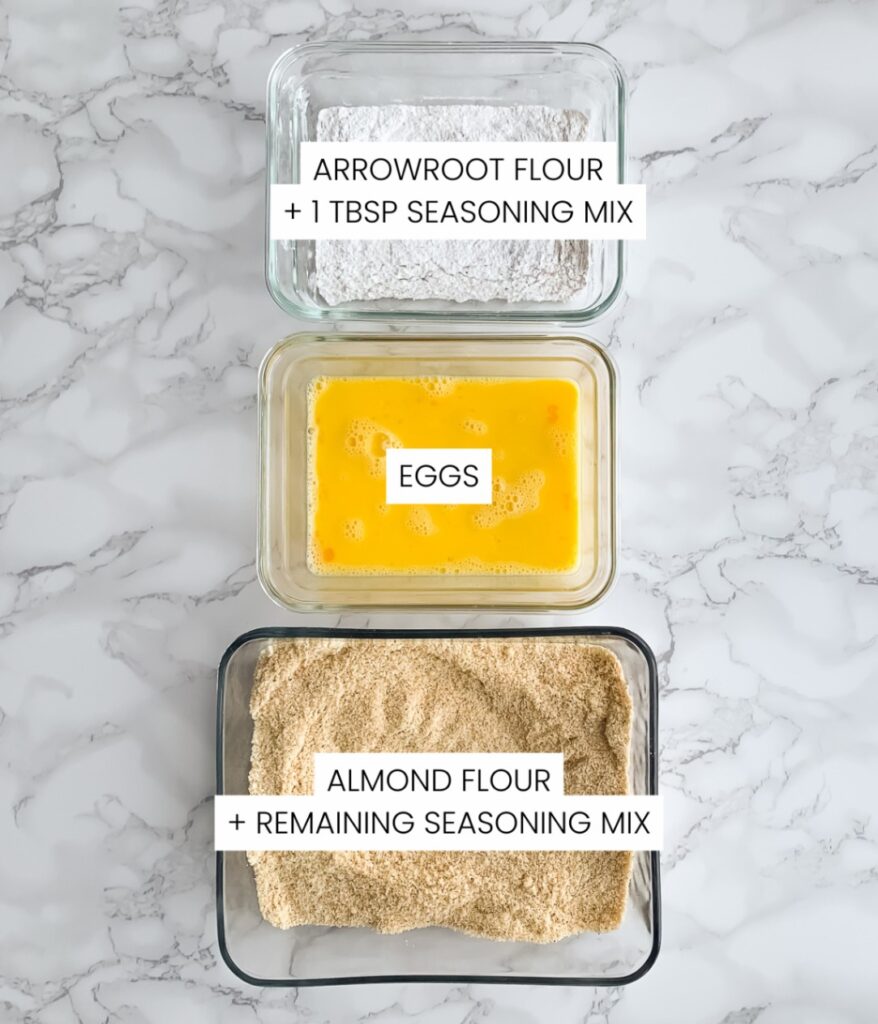
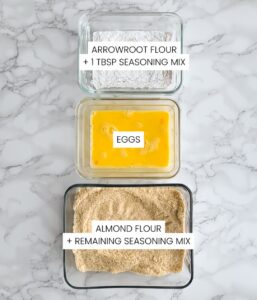
STEP 4: Using three shallow dishes, assemble your dredging station.
Dish 1 – Add your arrowroot flour and 1 tbsp of the seasoning mix and combine.
Dish 2 – Add your eggs and mix the yolks and whites together using a fork.
Dish 3 – Add your almond flour and remaining seasoning mix and combine.
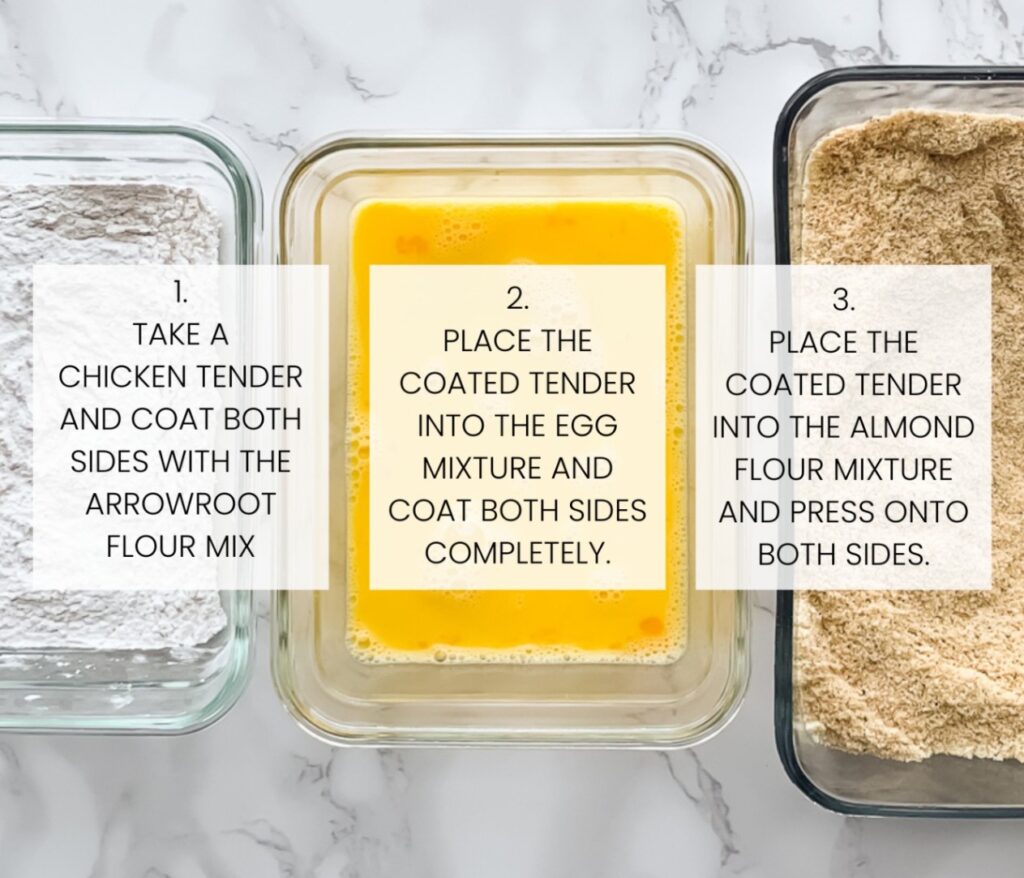
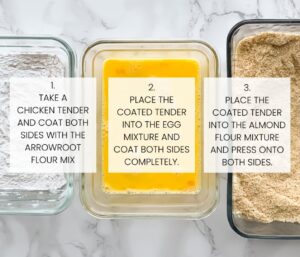
STEP 5: Coat your chicken strips using the following method:
- Take a chicken strip and coat both sides with the arrowroot flour mix.
- Place the flour-coated strip into the egg wash mixture and coat both sides completely.
- Place the egg-coated strip in the almond flour mixture and coat both sides, pressing it in until entirely coated and no egg or chicken is visible.
Next, place the fully coated chicken strips on your prepared baking sheet(s). Repeat this until all the raw chicken is coated.
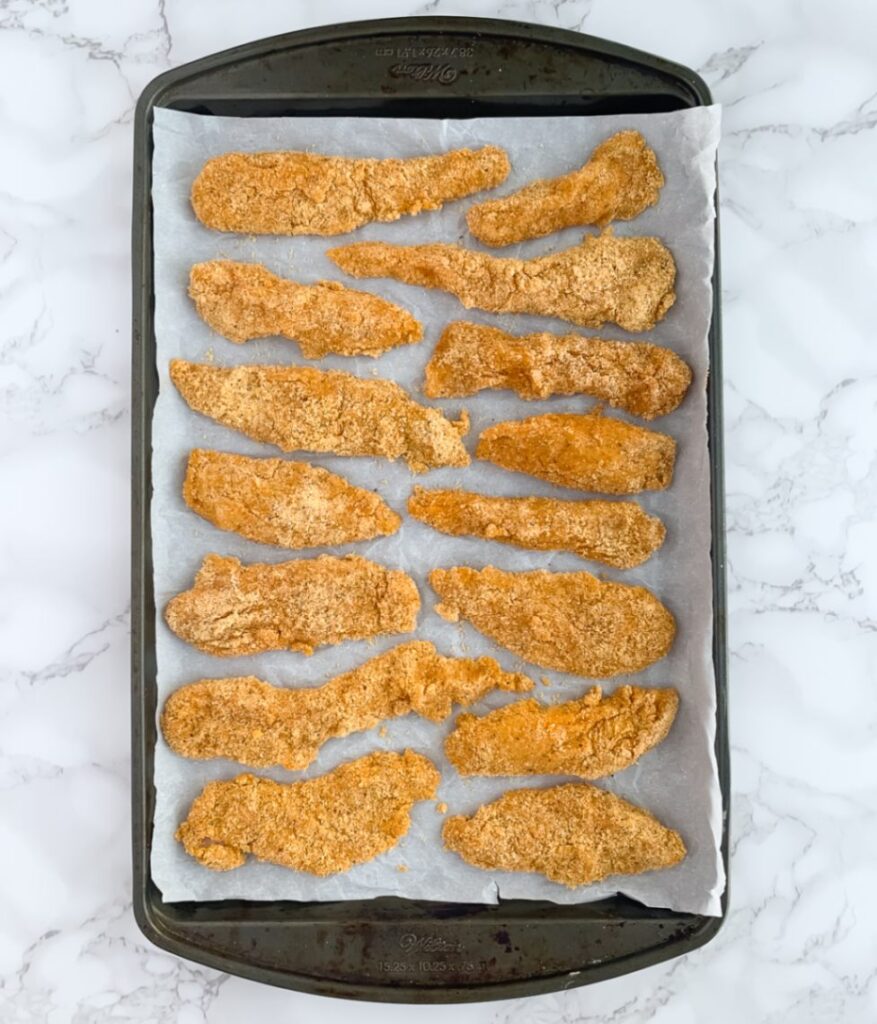
STEP 6: Take the baking sheet lined with your breaded chicken strips and place them in the freezer to flash-freeze for 2 hours. This will ensure the coating remains intact while air frying and prevent the strips from sticking to each other after being stored in the freezer.
HOW TO COOK healthy CHICKEN strips IN THE OVEN
Here are step-by-step instructions for healthy oven-baked chicken tenders.
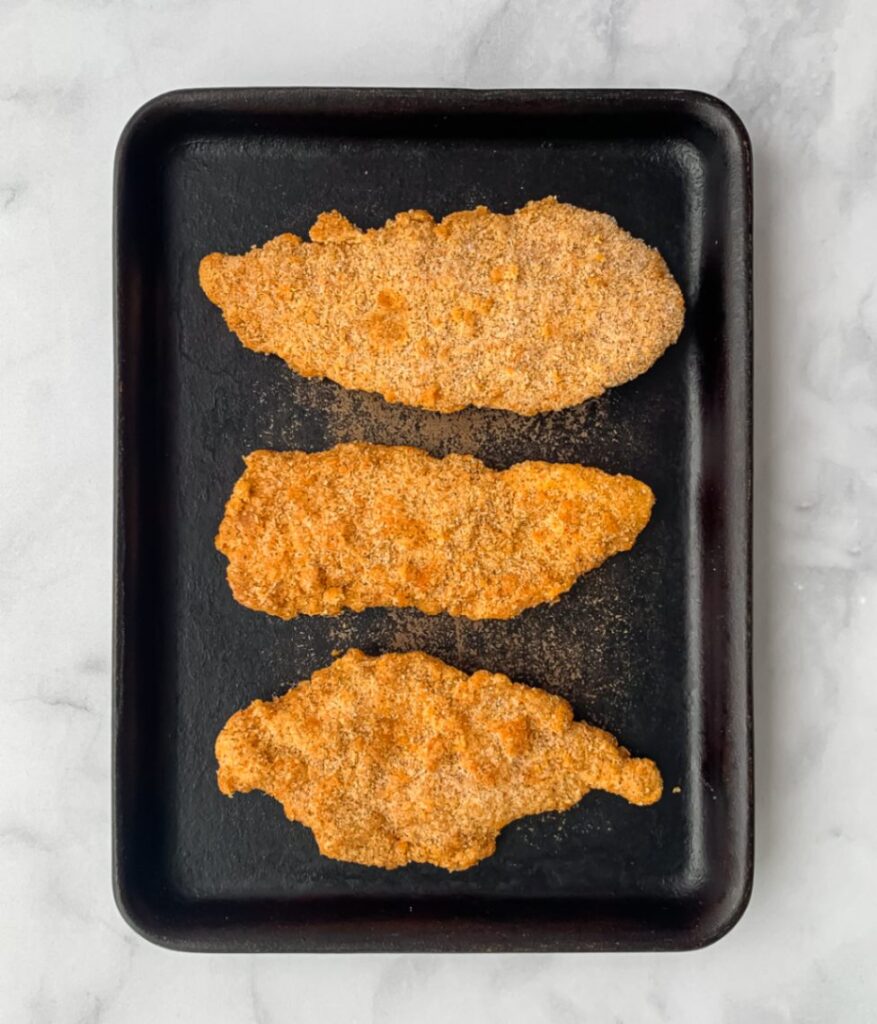
STEP 1: Preheat your oven to 350F. Line a metal baking sheet with parchment paper and add your frozen chicken tenders. If using stoneware or a pizza stone (which will help make it even crispier), there’s no need to use parchment paper.
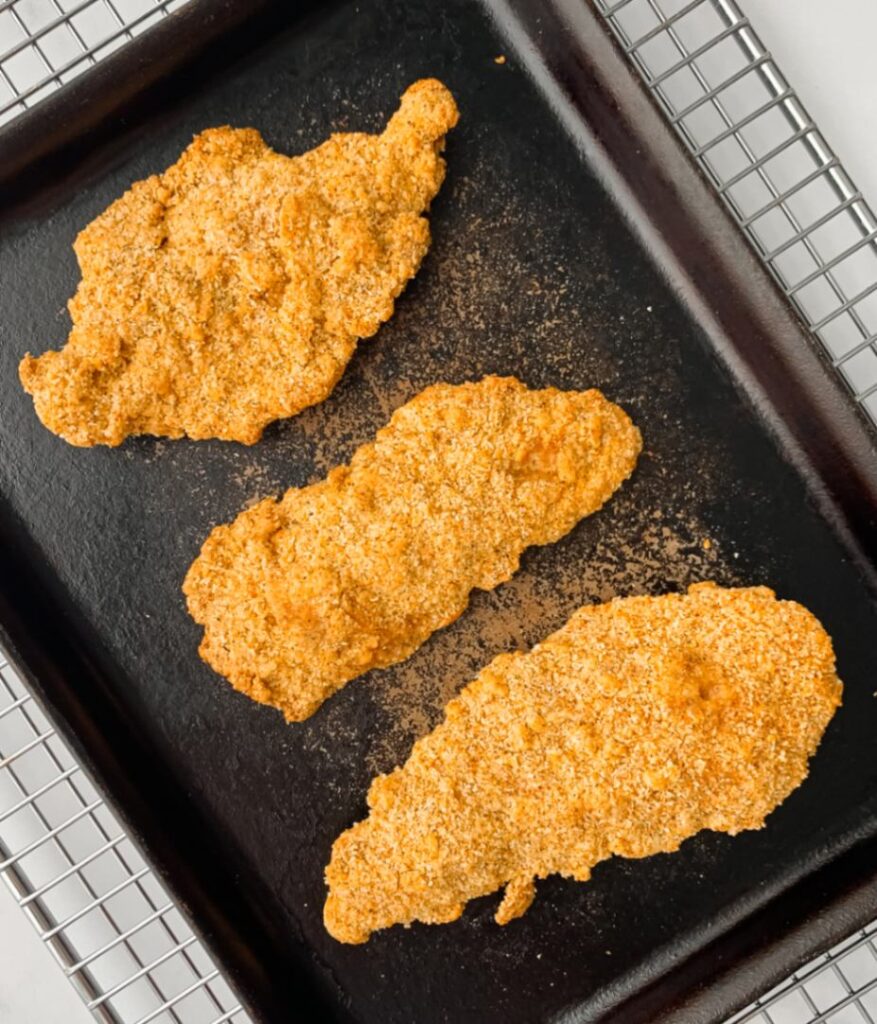
STEP 2: Bake for 23 to 25 minutes, until they are golden brown and have a little bit of juice coming out on the breading. They should have an internal temperature of 155F.
HOW TO COOK crispy CHICKEN STRIPS IN THE AIR-FRYER
Here are step-by-step instructions for crispy, healthy air fryer chicken tenders.
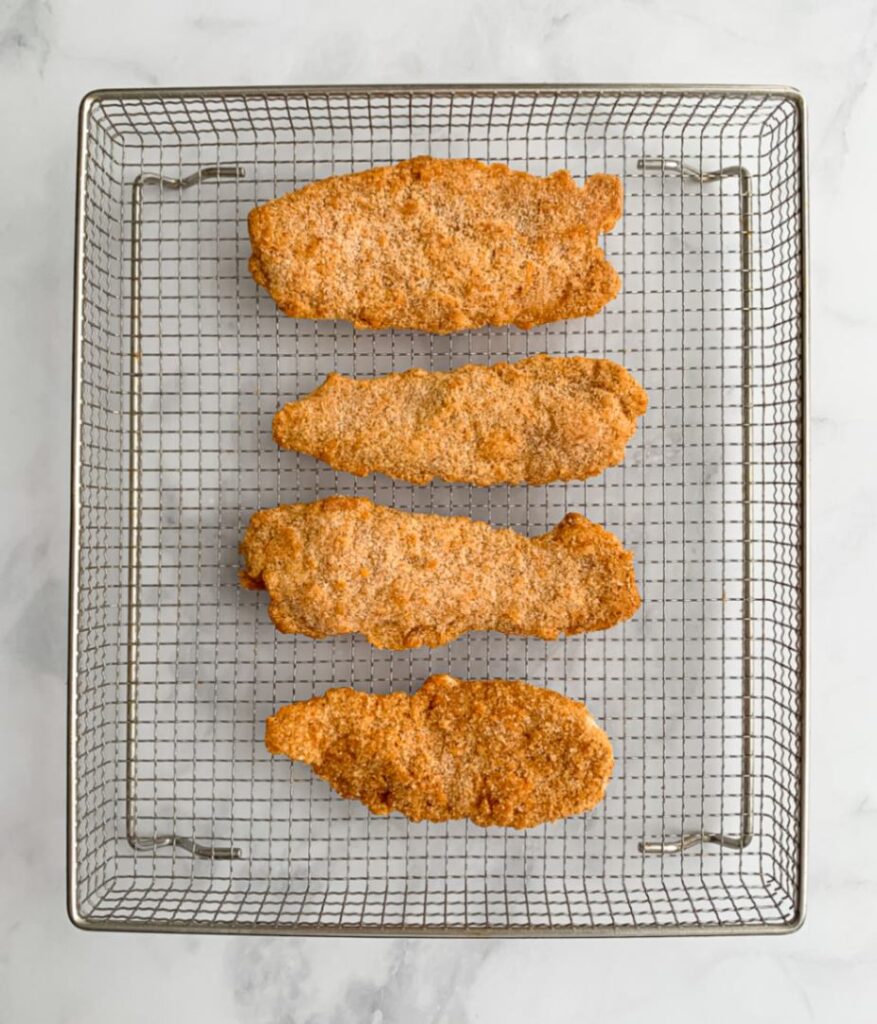
STEP 1: Preheat your air fryer to 325F. Place your frozen chicken tenders in the air fryer basket in a single layer. There’s no need to use cooking spray because there are enough naturally occurring oils in the almond flour.
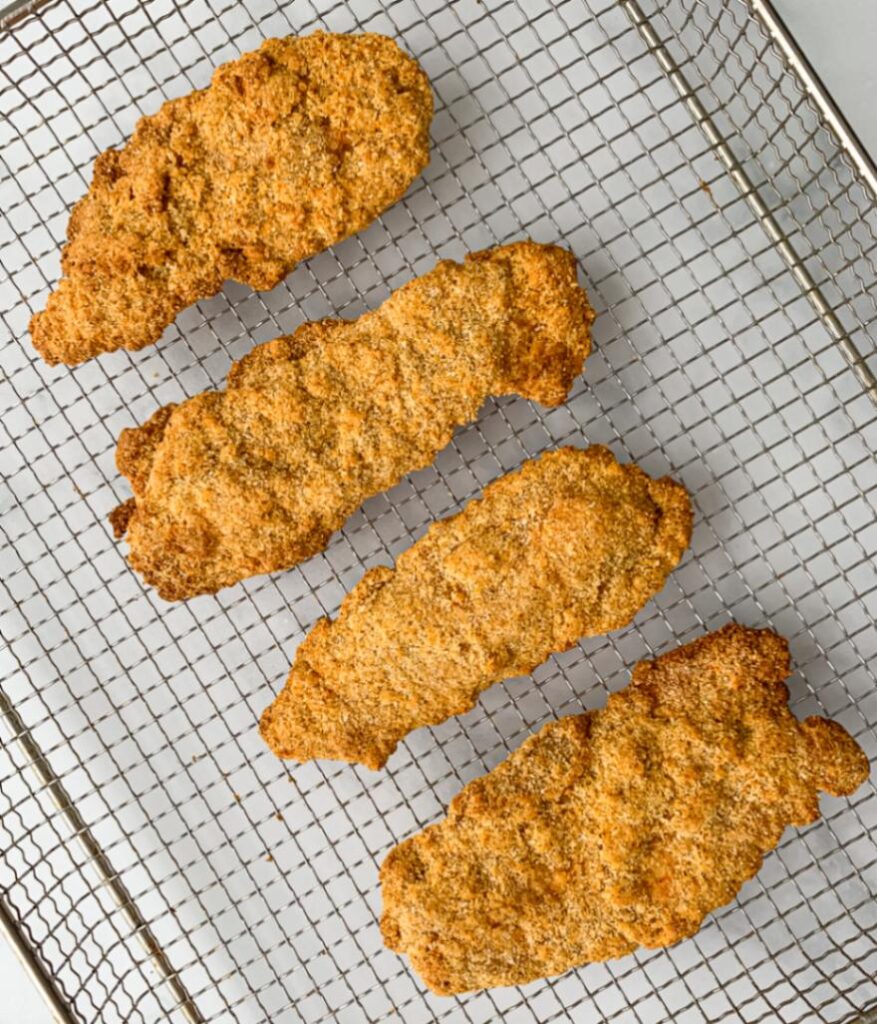
STEP 2: Air fry for 13 to 14 minutes, or until you can see the edges begin to brown and the internal temperature reaches 155F.
Healthy Chicken Strips Serving Ideas
You can enjoy these gluten-free chicken strips in a variety of ways, including:
- On top of a salad
- In a wrap
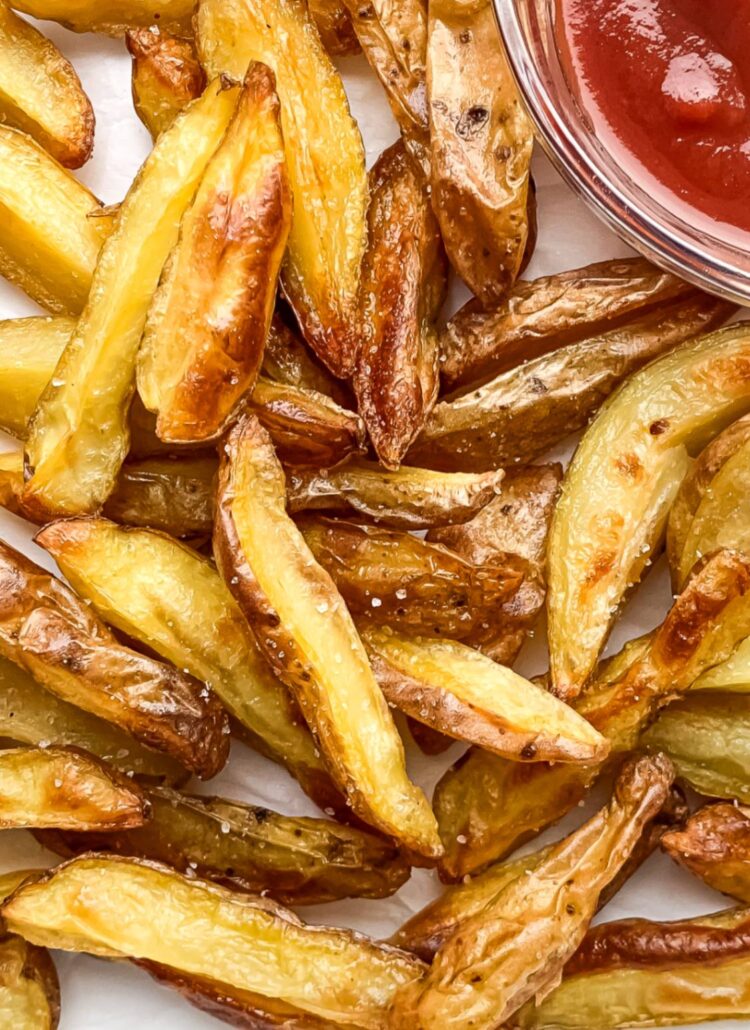
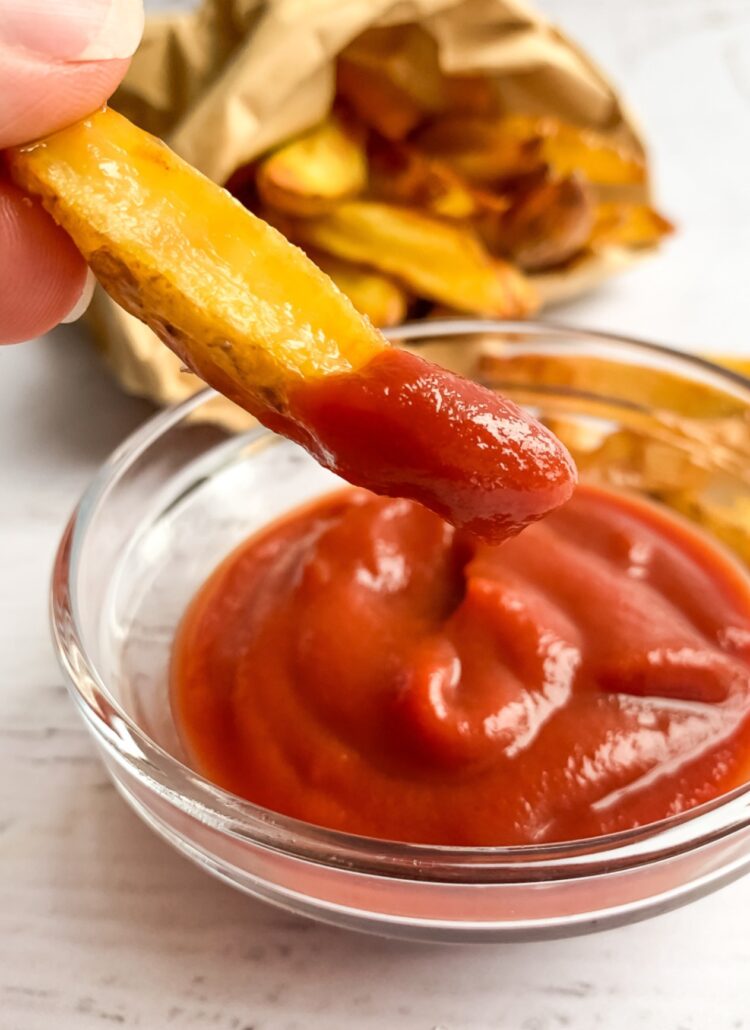
- On their own with your favorite dipping sauce, like this healthy tomato ketchup
- On sandwiches
- With pasta
Here are some other tasty serving ideas to try:
- Mini-Chicken Parmesans: After baking or air-frying, top with marinara sauce and a sprinkle of mozzarella and parmesan cheese, and broil for 1 to 2 minutes until the cheese is brown and melted.
- Crispy Chicken Dijon Salad: Toss your favourite salad veggies with 2 tbsp of this delicious Dijon vinegarette, and top with 1/2 an avocado, roasted sweet potato and your gluten-free chicken tenders.
- Buffalo Chicken Wraps: Coat your tenders with your favourite healthy buffalo chicken sauce, like this one from Primal Kitchen, and place in your favourite tortilla wrap. Top with lettuce or coleslaw.
- Comfort Food Plate: Serve 4 strips with a side of these dairy-free mashed potatoes and steamed green beans that have been drizzled with extra virgin olive oil and sprinkled with pink salt. It’s healthy comfort food heaven on a plate!
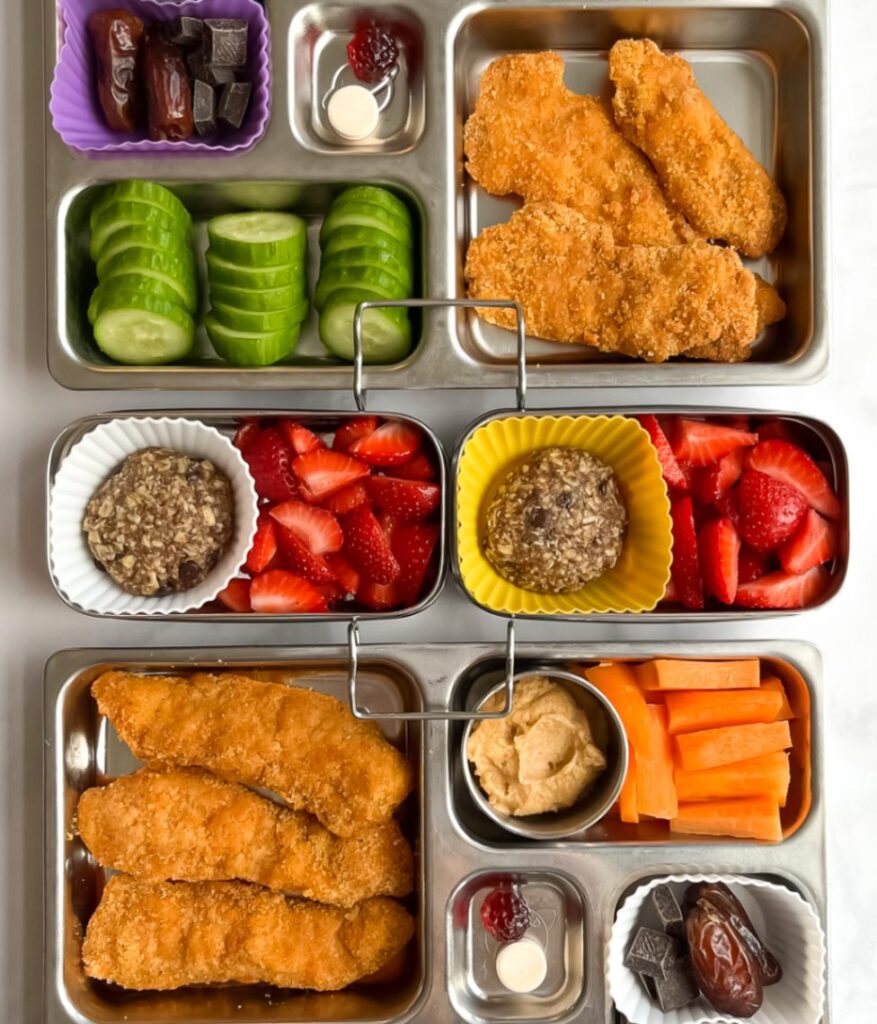
SCHOOL LUNCH BOX
What kid wouldn’t want delicious chicken tenders in their lunch? And what parent doesn’t want their kids to have a healthy serving of protein? This recipe is a significantly healthier alternative to what is served in school, making it a win-win for everyone!
Even better, these gluten-free chicken tenders taste good, both warm and cold. Because they take less than 15 minutes to cook in the air fryer, they can be made the morning of and kept warm in a thermos.
But leftover chicken tenders are just as tasty! I usually cook them one or two nights before to help cut down my lunch-packing time.
DIPPING SAUCE IDEAS
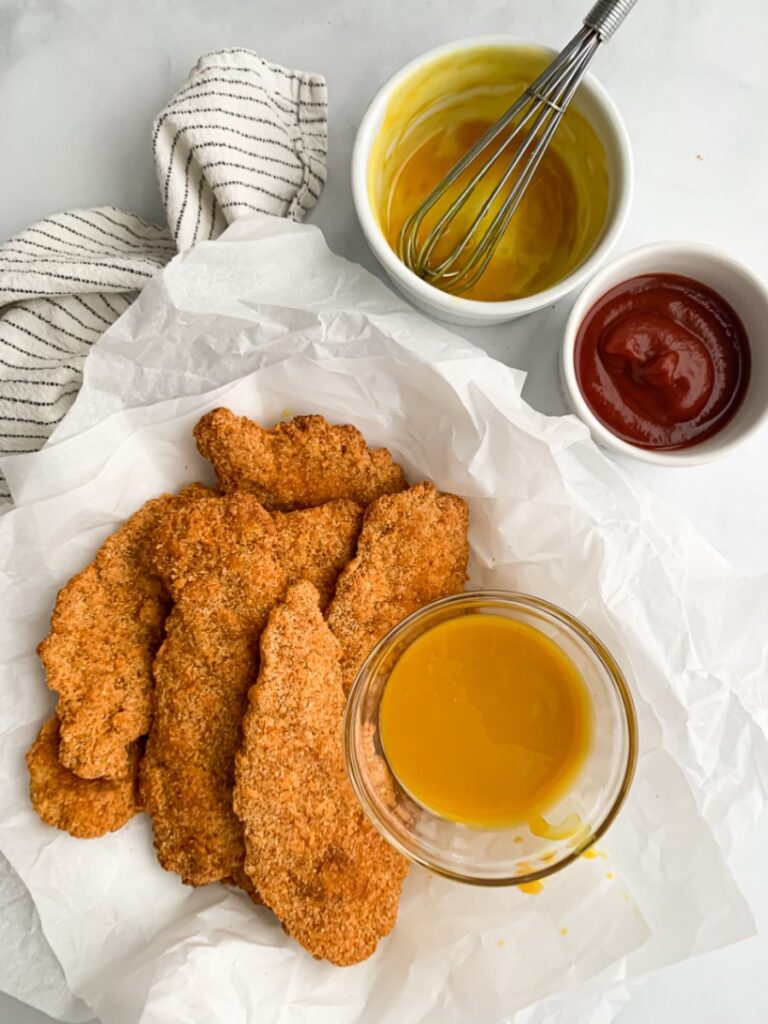
Let’s be honest. The best part is getting to dip these healthy chicken fingers in your favorite sauce!
- Ketchup (healthy recipe coming soon!)
- Spicy chipotle mayo
- Ranch dressing
- BBQ sauce (healthy recipe coming soon!)
- Buffalo sauce
- Local honey
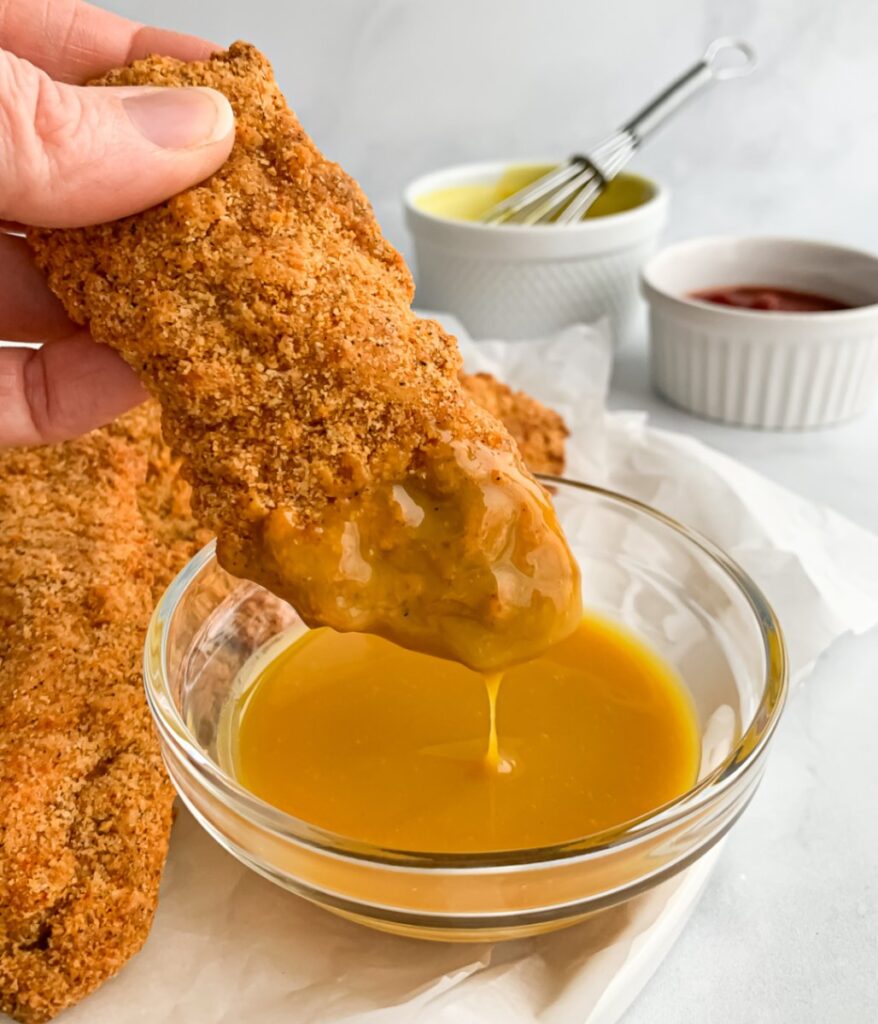
- Honey mustard sauce: Mix one part raw honey with one and a half parts prepared mustard and taste. Add more honey if needed.
Meal Prep & Storage Tips
HEALTHY CONVENIENCE FOOD
For many parents, frozen chicken nuggets or tenders are a weeknight staple! They’re an easy protein option and take no time to get into the oven on busy weeknights.
However, the gluten-free options you find in the frozen-food aisle are often made using inflammatory seed oils and refined grains. Plus, they’re expensive!
But who has time to whip up a batch of homemade gluten-free chicken strips mid-week? Thankfully, this recipe was specifically developed to solve this problem! The recipe tastes best cooked from frozen, and the directions describe exactly how to easily prepare them for freezer storage.
MEAL PREP
If you have the time, I highly recommend doubling or tripling this recipe for your freezer. Every couple of months, I’ll pop in some headphones, put on a great audiobook or podcast, and make enough to last us for several weeks!
FREEZER STORAGE
This recipe was developed specifically for the freezer! After you’ve flash-freezed your uncooked healthy chicken strips, store them in an airtight container or freezer bag. They’ll last up to 3 months in a standard freezer and up to 6 months in a deep-freeze chest freezer.
Flash freezing is when you place something uncovered in the freezer for a short period of time. This helps prevent the build-up of ice crystals on the item’s surface and keeps it from sticking to other frozen items after being transferred to a storage container or freezer bag.
You can find detailed instructions for how to flash freeze this healthy chicken tenders recipe in the full recipe card below.
FRIDGE STORAGE
Another meal prep method is to fully cook your healthy chicken strips and store them in the fridge to eat throughout the week.
To avoid soggy chicken strips, allow your cooked strips to cool to room temperature and store them in an airtight container lined with a paper towel.
Reheated in the microwave or toaster oven, they make for a tasty, quick dinner or lunch.
Expert Tips For The Best Results
DREDGE LIKE A PRO
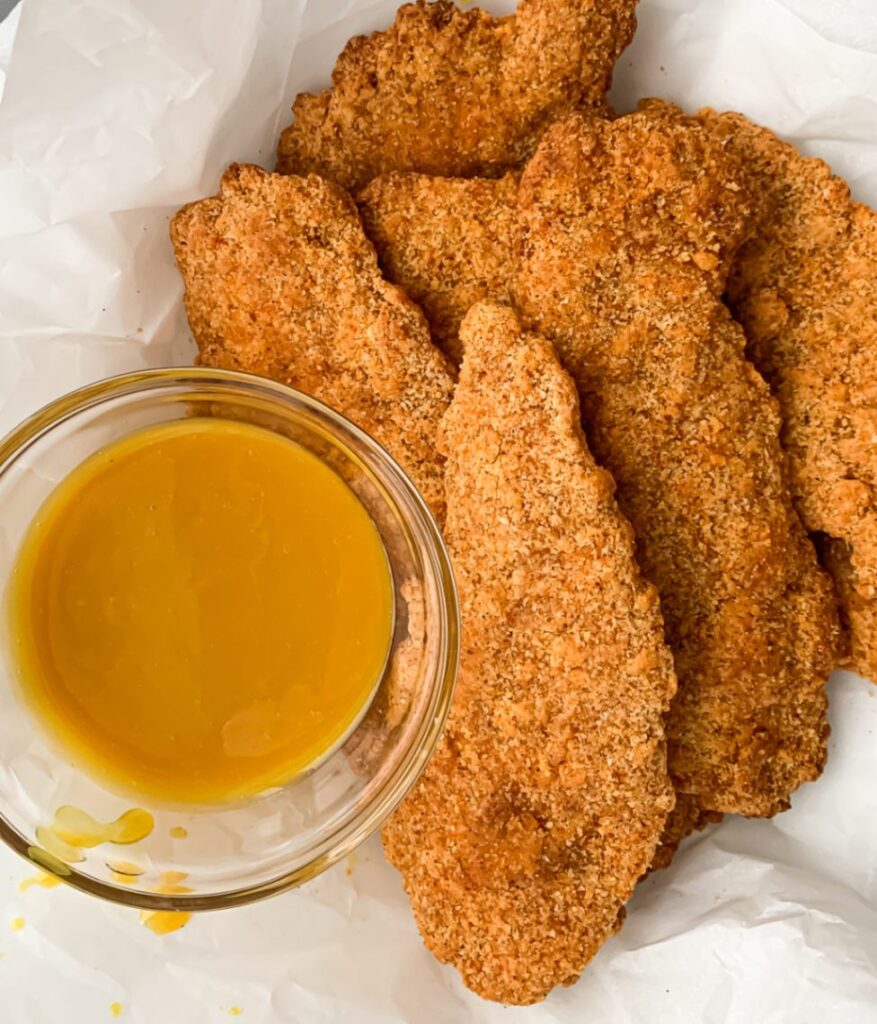
The secret to dredging like a pro is to designate one hand for wet dredging and one for dry. Doing this will prevent your fingers from developing a thick coating of the breading mixture.
Also, to make clean-up a snap, you can wear food-safe gloves. This is optional. However, if you don’t like getting raw chicken and flour under your nails, I recommend using gloves like these.
CHICKEN TENDERS VS CHICKEN BREASTS
There are two main differences between chicken breasts and chicken tenders. The first is the texture, and the second is the price.
Boneless skinless chicken breasts are larger muscles with a tougher texture. Chicken tenderloins (aka tenders) are a smaller muscle. It’s located between the breast and the breastbone and contains a bit more fat, making it more tender and juicy.
Because there’s less tenderloin meat than breast meat on a chicken, chicken tenders cost more than boneless, skinless chicken breasts.
Both options work beautifully in the recipe. So feel free to use whichever type of meat appeals to you and your budget most.
Questions About This Recipe?
Your whole family will love the nostalgic taste of this kid-friendly healthy chicken strips recipe just as much as you’ll love their healthy convenience! Still have questions? Check out these Frequently Asked Questions, or write a comment below!
FAQs
Both work! But if you need help deciding which to go for, consider this:
– Chicken tenders are more tender, contain more fat and cost more per pound.
– Chicken breasts can be cut into strips, mimicking the shape of tenders. They contain less fat and cost less per pound.
For 14 minutes, in a 325F pre-heated air fryer. There is no need to add any oil! The natural oils in the almond flour crips up the outside and lock in the juiciness of the chicken tenders.
No. Almond flour and arrowroot flour are 100% Paleo-friendly, however, tapioca flour is not. If you follow a Paleo diet, you’ll want to ensure you use arrowroot flour instead of tapioca flour.
Yes! You can bake your freshly coated tenders for 22 minutes in a preheated 350F oven or air-fry for 13 minutes in a preheated 325F air fryer. If your air fryer uses a wire basket, you’ll create less of a mess using frozen chicken tenders.
The main difference is their texture. Granulated spices are more bulky and grainy. Powdered spices are finer because they’ve been ground down into a powder. Both are made from dehydrated vegetables or herbs. You can substitute granulated spices with powdered ones, but you will need to reduce the measurement by half. For example, 1 tsp of granulated garlic can be substituted with a 1/2 tsp of garlic powder. It’s best to use granulated spices in recipes that have a rougher, bulky texture, like breading. Powdered spices are best in recipes with a smoother texture, like soup or sauces.
Flash freezing is when you place something uncovered in the freezer for a short period of time. This helps prevent the build-up of ice crystals on the item’s surface and keeps it from sticking to other frozen items after being transferred to a storage container or freezer bag.
Recipe Card

Healthy Chicken Strips (Gluten-Free)
Ingredients
- 2 pounds boneless skinless chicken breasts or tenders approximately 4 large chicken breasts
Seasoning Mix:
- 1 tbsp + 1 tsp granulated onion
- 1 tbsp granulated garlic
- 1 tbsp sweet paprika powder
- 2 tsp Himalayan pink salt can sub for kosher or sea salt
- 2 tsp black pepper
Coating
- 1/2 cup arrowroot flour or tapioca flour if not following a Paleo or Whole30 diet
- 3 large eggs or 4 medium
- 3 cups almond flour
Instructions
Preparing Your Chicken
- Cut your raw chicken breasts and/or tenders into 1/2-inch thick strips and set aside. The length doesn't matter but try to keep the thickness as uniform as possible for even cooking.
- Make your seasoning mix, by mixing the salt and spices in a small bowl. Set aside.
- Line one or two metal baking sheets with parchment paper. Cut a few extra pieces of parchment paper, the same size as the baking sheet. Set aside.
Dredging Your Chicken
- Using three shallow dishes, assemble your dredging station. Dish 1: Add your arrowroot flour and 1 tbsp of the seasoning mix, and combine.Dish 2: Add your eggs and mix the yolks and whites together using a fork.Dish 3: Add your almond flour and remaining seasoning mix, and combine.
- Coat your chicken tenders using the following method: 1. Take a chicken tender and coat both sides with the arrowroot flour mix. 2. Place the flour-coated tender into the egg mixture and coat both sides completely. 3. Place the egg-coated tender in the almond flour mixture and coat both sides, pressing it in until entirely coated and no egg or chicken is visible.4. Place the fully coated chicken tender on your prepared baking sheet. Repeat this until all the raw chicken is coated.
Freezer Instructions
- Take the baking sheet lined with your breaded chicken tenders and place them in the freezer to flash freeze for 2 hours. This will ensure the coating remains intact while air frying and prevent them from sticking to each other when storing them in the freezer.

- After 2 hours, remove them from the baking sheet and store them in a resealable freezer bag. Store in the freezer for up to 3 months.
Oven-Baking Instructions
- To oven bake from frozen: Preheat your oven to 350F. – Line a metal baking sheet with parchment paper and add your frozen chicken tenders. If using stoneware or a pizza stone (which is recommended for added crunch), there's no need to use parchment paper. – Bake for 23 to 25 minutes, until they are lightly browned, have a little bit of juice coming out on the breading and have an internal temperature of 155F.
Air-Frier Instructions
- To air-fry from frozen: Preheat your air fryer to 325F. – Once preheated, place your frozen chicken tenders in the wire basket that comes with your air fryer. There’s no need to spray with additional oil because of the natural oils in the almond flour. Air fry for 14 minutes, or until you can see the edges begin to brown and the internal temperature reaches 155F.
Notes
- You can oven-bake them, as-is unfrozen, for 22 minutes in a 350F preheated oven or air-fry them for 12 to 13 minutes in a 325F preheated air fryer.
- You can use chicken breasts or tenders in this recipe. See the FAQs for more information if you need help deciding which one to use.
- If substituting granulated garlic and onion for garlic and onion powder, use half the amount listed. See FAQs for more information.
- If you run out of room on your baking sheet(s), place a piece of your pre-cut parchment paper on top of the coated chicken tenders and layer the other coated tenders on top. The parchment paper will prevent them from sticking together in the freezer.
Nutrition
Let’s Keep In Touch!
I can’t wait to hear all about your healthy eating journey and what you’ve been cooking! Please comment below or share your successes with me on Instagram @nourashnutrition so that I can celebrate you and your healthy eating milestones!
Until next time…
Sending you 🤎 & ✨!


Leave a Reply