This rich and creamy dairy-free cashew cheese sauce is life-changing for anyone who’s had to go dairy-free or recently adopted a vegan lifestyle. Everybody who tries it immediately asks for the recipe and can’t believe how easy it is to make.
This cashew cheese sauce is also super versatile! I always have a jar of this delicious sauce in the fridge because we put it on everything!

Skip Ahead | Table Of Contents
- Nutrition Facts
- Healthy Ingredients
- Step-By-Step Instructions
- Queso Instructions
- Bonus Creamy Salad Recipe
- Serving Ideas
- Meal Prep & Storage Tips
- Expert Tips
- FAQs
- Recipe Card
Dairy-Free Cheese Sauce Nutrition Facts
This recipe is both dairy-free and healthy. Which is unfortunately not the case for most dairy-free recipes or store-bought vegan products.
The creamy base is made with raw, soaked cashews, made cheesy with nutritional yeast.
No artificial cheese products with questionable ingredients, emulsifiers, or gums!
Each 2 tbsp serving has:
- 44 calories
- 2g of protein
- 3g of healthy fats
- 1g of fibre
- 2g of net carbs
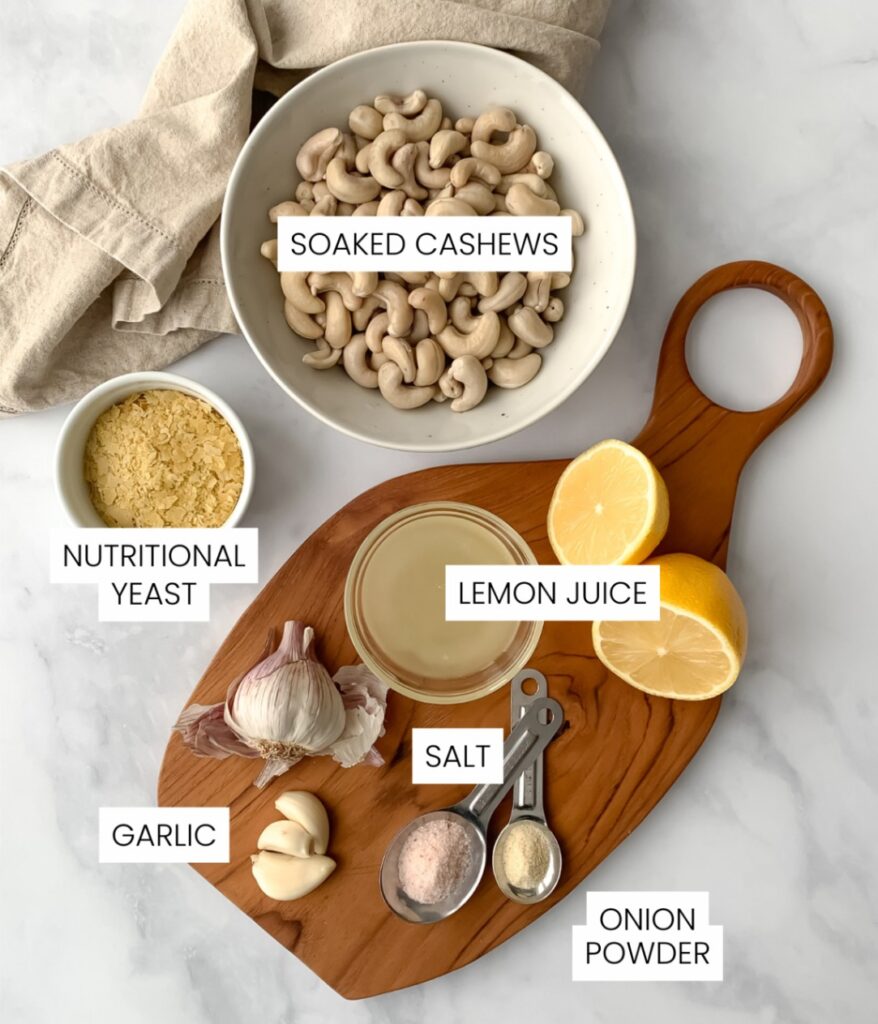
Healthy Dairy-Free Cashew Cheese Sauce Ingredients
Raw Cashews: These seeds (yes, SEEDS) are a superfood. They have the power to balance hormones, reduce inflammation in the body and slow down ageing from oxidative stress. Not only that, they have the ability to make going dairy-free not just bearable but enjoyable!
Nutritional Yeast, aka ‘Nooch’: With its cheesy flavour and high protein content, it’s the secret ingredient in almost every dairy-free cheese recipe out there! It’s a deactivated yeast that won’t trigger or affect conditions associated with yeast overgrowth. It’s also packed with B vitamins and trace minerals, making it one of my favourite go-to healthy pantry staples.
Lemon Juice: Lemon juice is the secret ingredient that neutralizes the flavour of cashews, letting the cheesy flavour of the nutritional yeast come through. It also gives this sauce a slightly tangy taste, which helps to balance out its richness.
Spices: The tasty combination of fresh garlic, onion powder, and salt is always a winner! It gently enhances the flavour of this special sauce without overpowering it.
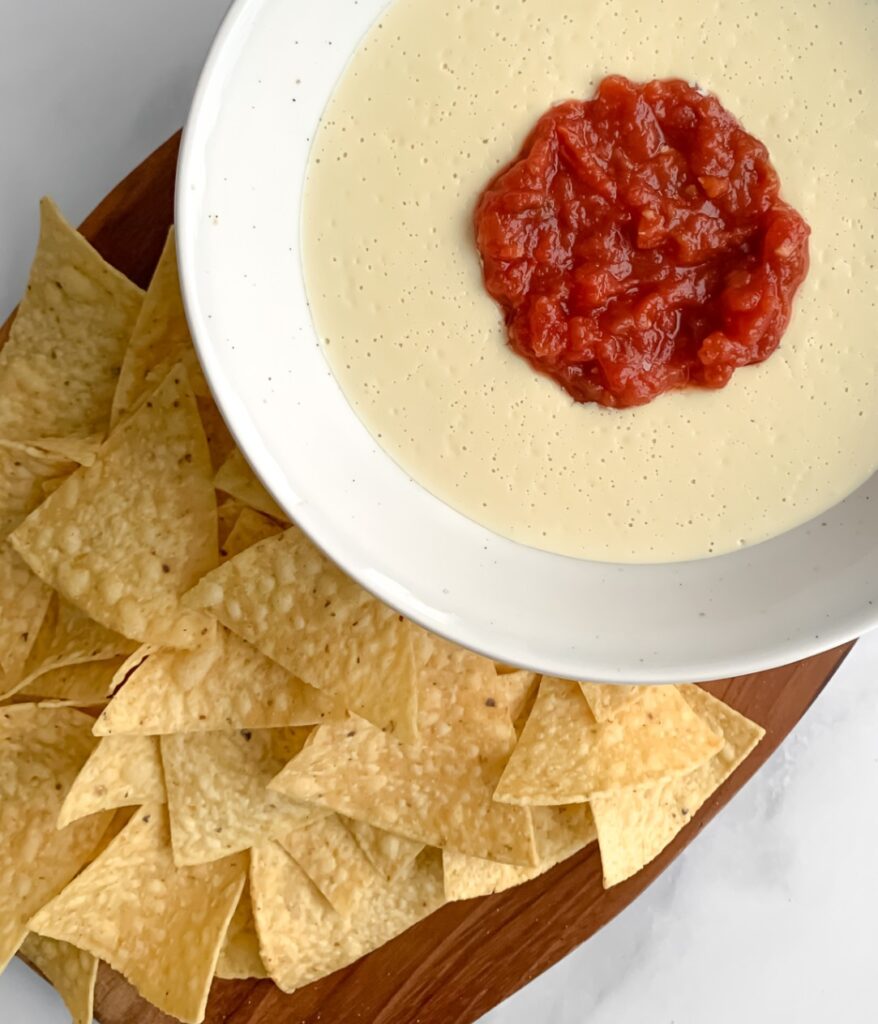
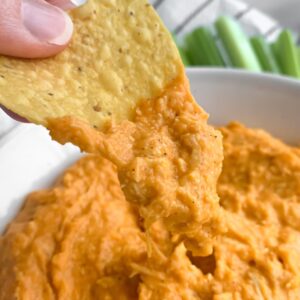
(optional) Salsa: Adding this will transform this vegan cheese sauce into vegan queso. That’s it! So simple!!
Check out the printable recipe card for exact measurements.
How To Make Dairy-Free Cashew Cheese Sauce
STEP-BY-STEP INSTRUCTIONS
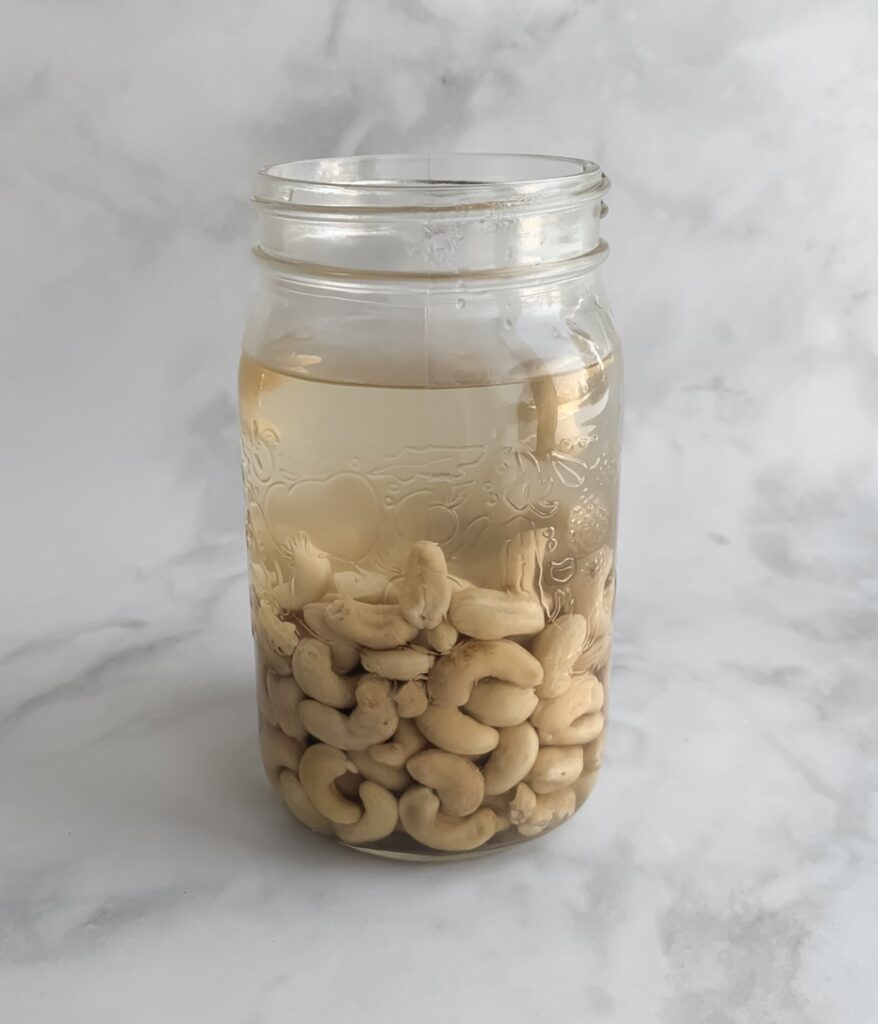
STEP 1: Soak cashews in water overnight or in very hot water for 4 hours.
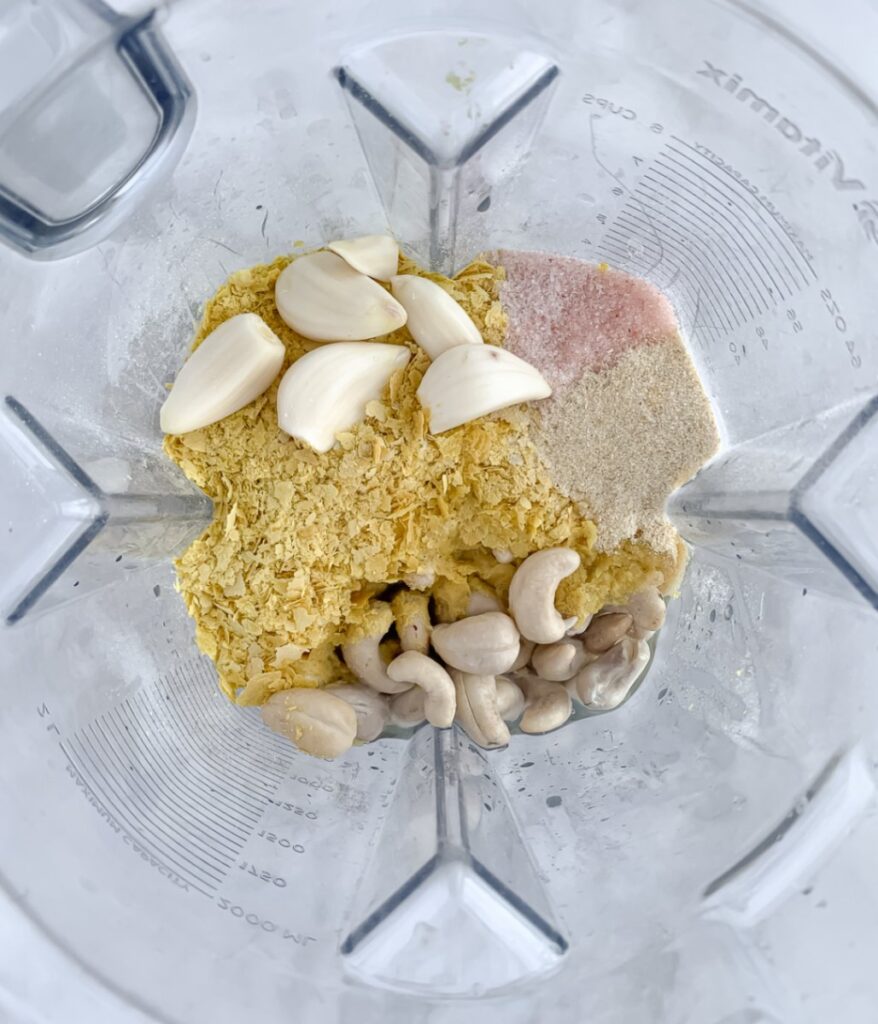
STEP 2: Drain and rinse your soaked cashews and place them in your blender with the remaining ingredients.
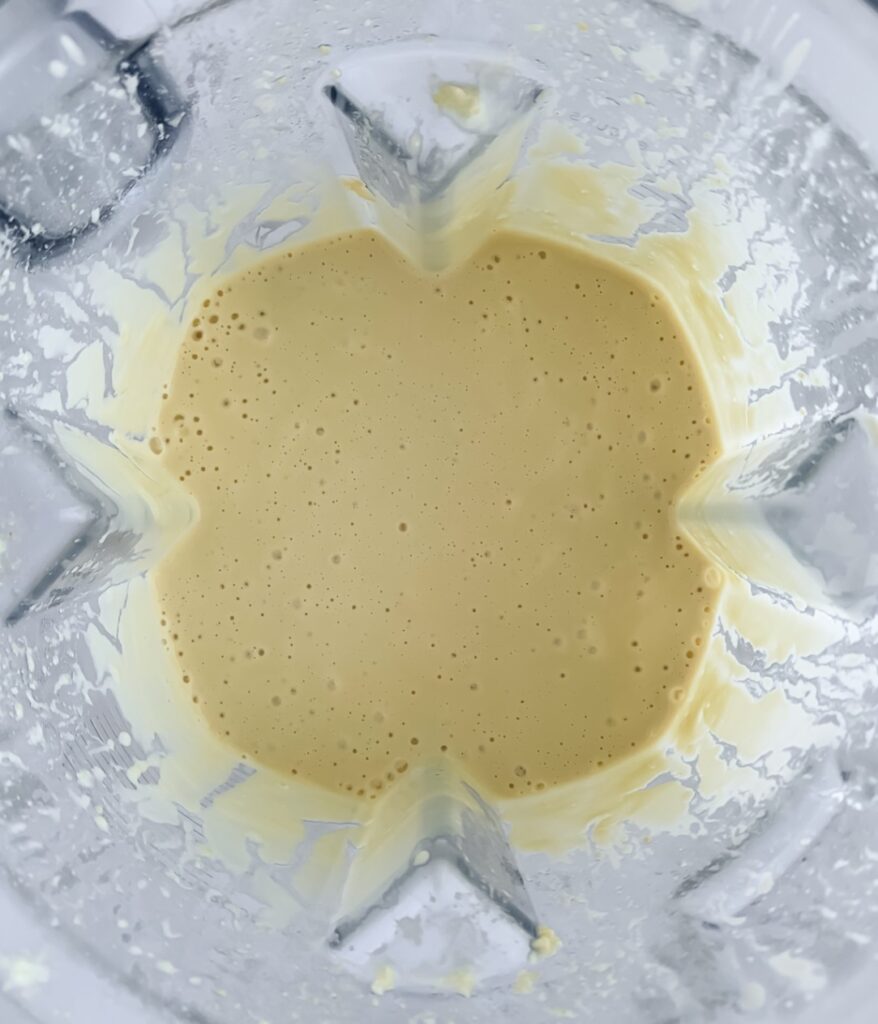
STEP 3: Blend on high speed for 3 to 5 minutes – 3 minutes if you want a thinner consistency or 5 if you want a more spreadable one. It will thicken more after being refrigerated overnight.
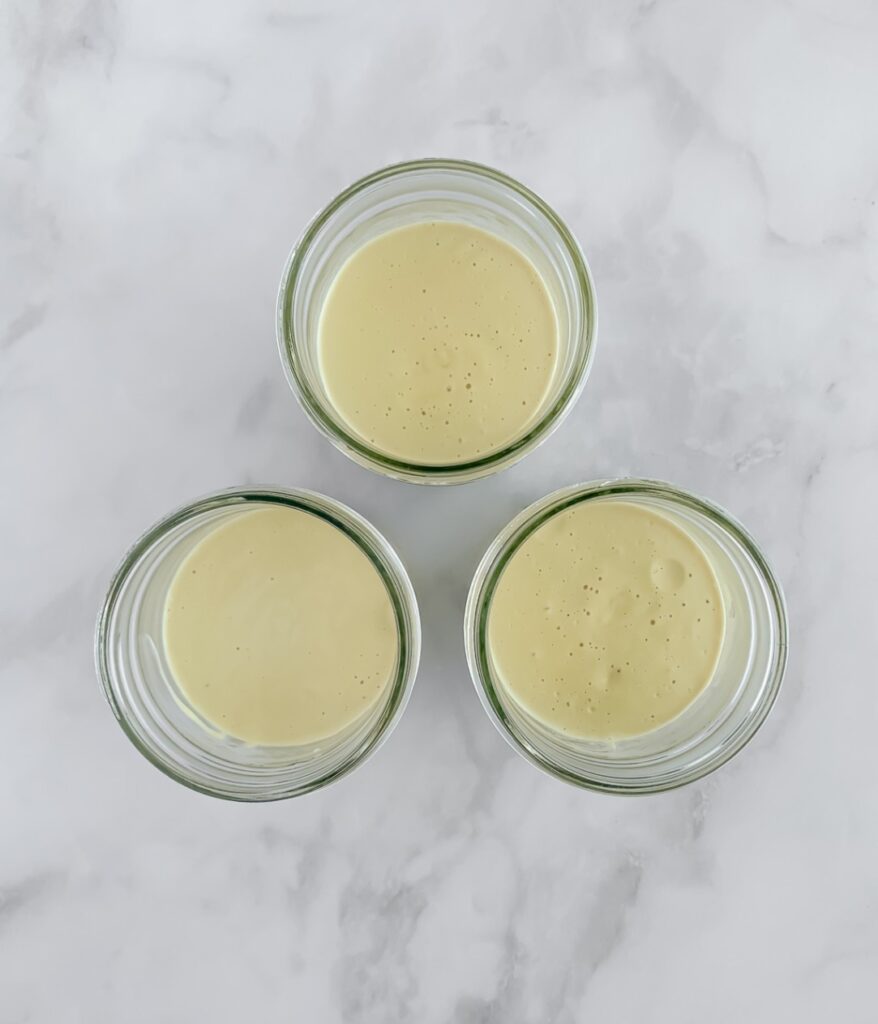
STEP 4: The sauce will be warm when it comes out of the blender. Portion it into glass jars or a glass container and allow it to cool on the counter before transferring it to the fridge or freezer.
Cashew Queso Instructions
STEP 1: Complete all previous steps, but before transferring your sauce to containers, add in 3/4 of a cup of your favourite salsa.
STEP 2: Mix until combined, ideally in a separate bowl, to avoid staining your blender container.
STEP 3: Serve immediately or transfer to your container(s) of choice and store as per the previous instructions.
Serving Ideas
This cashew cheese sauce is extremely versatile!
- As a dip with tortilla chips or celery… seriously… celery tastes EXCEPTIONAL with this cheese sauce. And everyone who tries 100% agrees! 😋
- Served warm as queso, topped with extra salsa with tortilla chips, and optional cooked ground beef added. This is always a crowd-pleaser!
- As a dip for pizza and pizza crust. Holy moly… what a treat!
- As a spread for burritos, burgers, sandwiches and wraps.
- Spread on hardboiled eggs. This may sound like a random flavour combination, but it’s worth trying if you like deviled eggs. It’s one of my favourite high-protein, mid-day snacks!
- As a topping for salad. I wouldn’t use it as a salad dressing replacement but as a creamy, cheesy condiment dollaped on top of a well-dressed salad.
Bonus RECIPE if you love SALADS WITH CREAMY DRESSINGS
These ingredients and directions are for a single-serving salad. Multiply the measurements as needed.
- 3 cups of mixed salad greens
- 1/2 cup of chopped cucumber
- 2 tbsps of Dijon vinaigrette
- 1 tbsp dairy-free cashew cheese sauce
- 1 tbsp hemp hearts
- Half an avocado, sliced or diced
- Protein(s) of choice, like baked chicken breast, bacon pieces, tempeh or chickpeas
STEP 1: Toss the salad greens and cucumber with the Dijon vinaigrette.
STEP 2: Add the dairy-free cashew cheese sauce and hemp hearts, and toss again.
STEP 3: Top with avocado and your proteins of choice.
I could eat this salad every day… and sometimes do, for weeks on end! 🤤
Meal Prep & Storage Tips
MEAL PREP
This recipe freezes exceptionally well, making it an excellent meal prep recipe. I like to make multiple batches, one after the other. There’s no need to clean your blender in between batches. So make a mess once and enjoy your cheese sauce for weeks to come!
STORAGE
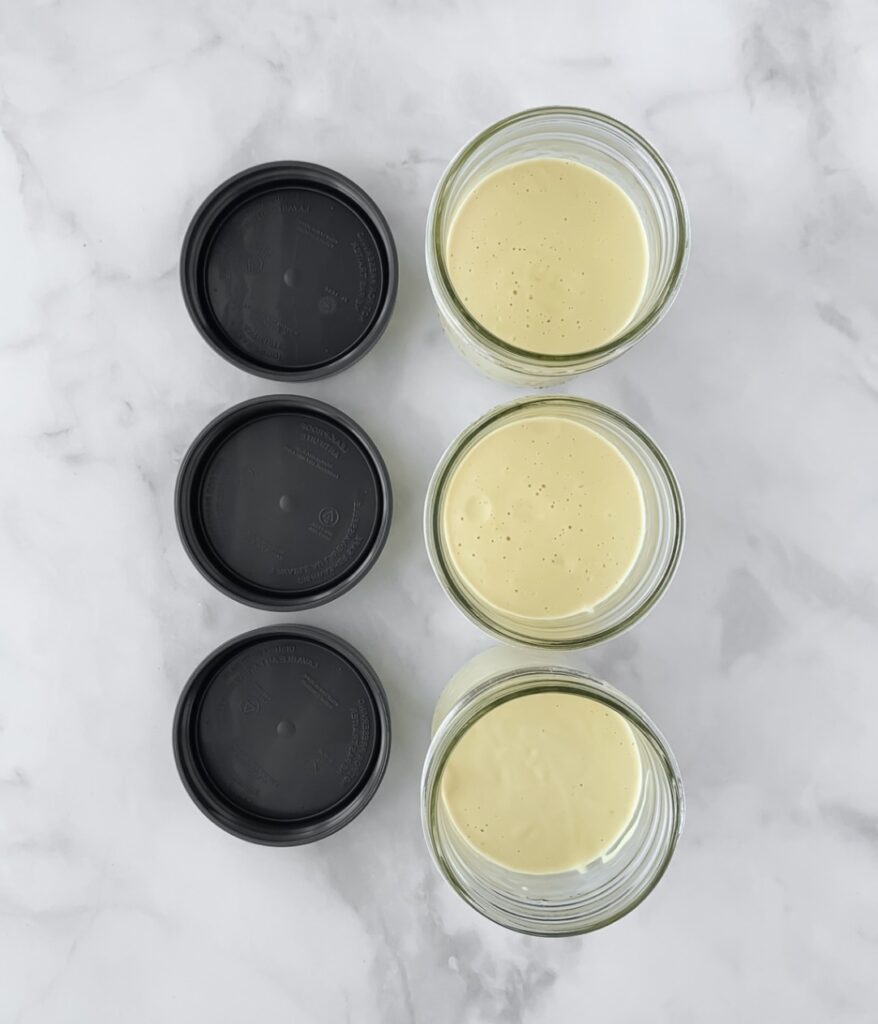
To maintain its freshness, store it in glass jars or an airtight glass container. It will last up to 5 days in the fridge and up to 3 months in the freezer.
Expert Tips
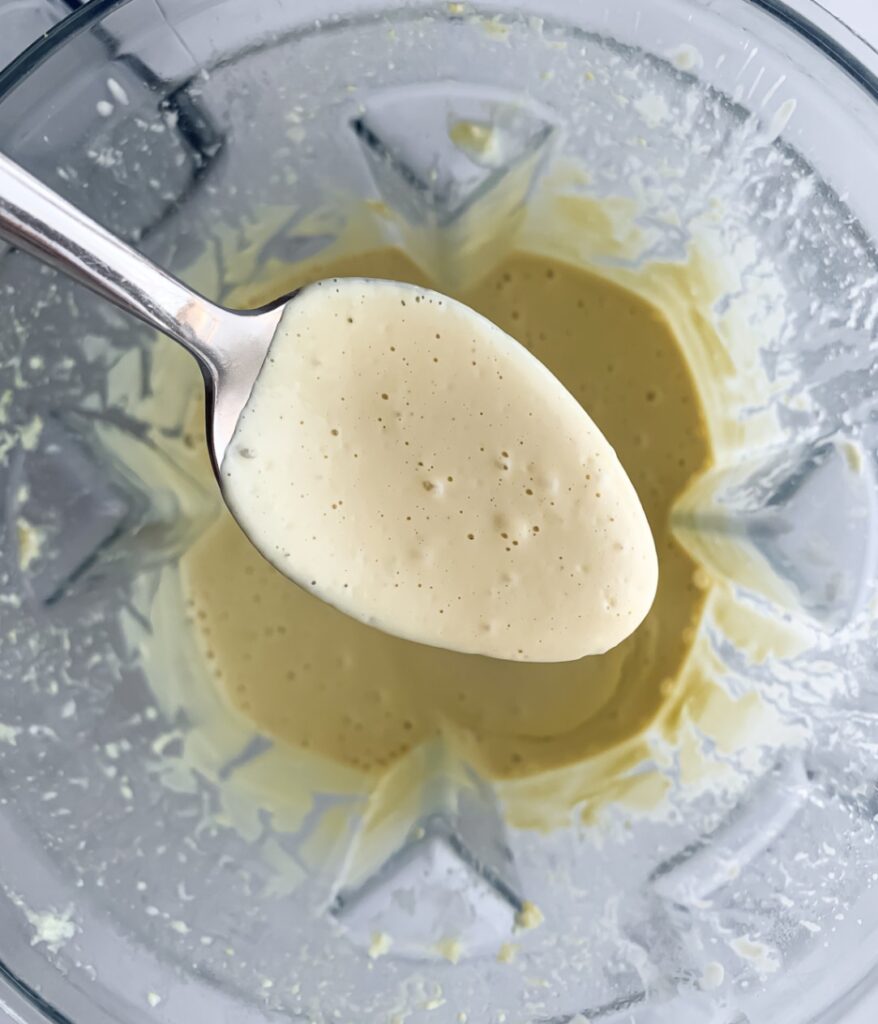
This recipe will thicken after being refrigerated for a few hours. Plus, the longer you blend it, the thicker it gets. If you blend it for 5 minutes or more, it will become more of a spread, which is perfect if you plan to use it that way.
If you want the best of both worlds – both a spread and thinner consistency, you have two options.
- Blend on high for 3 minutes and pour out half of the recipe into your glass storage container of choice. Blend the remaining sauce for another 2 minutes and store separately. OR
- Blend your entire recipe for the full 5 minutes and store it as indicated in the recipe card. When you want a thinner consistency, dilute a small portion with a little bit of boiling water and mix. Add more if you want an even thinner or pourable consistency.
FAQs
No! While a high-speed blender will blend it faster and get hotter, it’s not necessary to get a smooth sauce. This recipe has been tested in a Ninja blender and came out perfect!
Unfortunately, no. A food processor won’t produce a smooth consistency like a blender does.
This recipe has only been tested using cashews. Raw cashews have a naturally creamy, dairy-esque flavour when blended with lemon juice. They also break down entirely into a silky smooth consistency without needing to be strained. While there’s a possibility macadamia nuts might work, they won’t have the same taste. For the best flavour and texture, I recommended sticking to cashews.
No. Raw cashews have a more neutral flavour, allowing the cheesy flavour of the nutritional yeast to shine through. Plus, soaked raw cashews, when blended, give you a much creamier sauce than roasted ones.
Cashews are technically seeds! They grow inside a pear-shaped fruit called the cashew apple or drupe. Botanically, cashews are classified as seeds – not nuts.
Truly raw cashews, harvested directly from the fruit they grow in, contain a resin that can cause a reaction similar to poison ivy. The raw cashews you buy in the store have been shelled and steamed in order to remove this resin, making them completely safe to eat. Also, raw (aka steamed) cashews contain antioxidants and anti-inflammatory properties, making them the healthier choice over roasted cashews.
Recipe Card
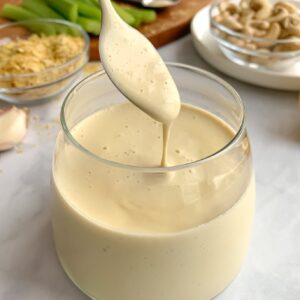
Dairy Free Cashew Cheese Sauce and Queso
Equipment
- Blender
Ingredients
- 1 cup + 2 tbsp raw cashews soaked overnight or in hot water for 4 hours
- 1 cup water
- 1/2 cup +1 tbsp nutritional yeast
- 1/4 cup lemon juice
- 1 1/2 tsp salt
- 1 1/2 tsp onion powder
- 3 garlic cloves
Instructions
Dairy Free Cheese Sauce Instructions
- Soak cashews in water overnight or in very hot water for 4 hours.
- Drain and rinse your soaked cashews and place them in your blender with the remaining ingredients.
- Blend on high speed for 3 to 5 minutes. 3 minutes if you want a more pourable consistency or 5 if you want a more spreadable one. It will thicken more after being refrigerated overnight.
- The sauce will be warm coming out of the blender. Portion it out into glass jars or a glass container, and allow it to cool on the counter before transferring to the fridge or freezer.
- Your dairy-free cheese sauce will last up to 5 days in the fridge and up to 3 months in the freezer.
Dairy Free Queso Instructions
- Complete all previous instructions, but before transferring your sauce to containers, add in 3/4 of a cup of your favourite salsa.
- Mix until combined, ideally in a separate bowl, to avoid the risk of staining your blender container.
- Serve immediately or transfer to your container(s) of choice and store as per the instructions above.
Notes
Nutrition
Questions?
If you have any questions about this recipe or the information you’ve learned today, please don’t hesitate to leave a comment or send me an Instagram direct message! ✨
I can’t wait to hear all about your healthy eating journey and what you’ve been cooking! Please comment below or share your successes with me on Instagram @nourashnutrition so that I can celebrate you and your healthy eating milestones!
Until next time…
Sending you 🤎 & ✨!

Super versatile for meal prep — and makes great burrito “glue” as well!
Haha! Burrito glue! Brilliant!🌯 Thank you Justin!
So quick and easy to make! It never lasts long in our house. We love it on nachos, dipping veggies and in wraps. But I could probably eat the entire portion on its own.
Right?! It’s crazy how addictive this recipe is! 😋